Shear Scraping with the Crown Negative Rake Shear Scraper
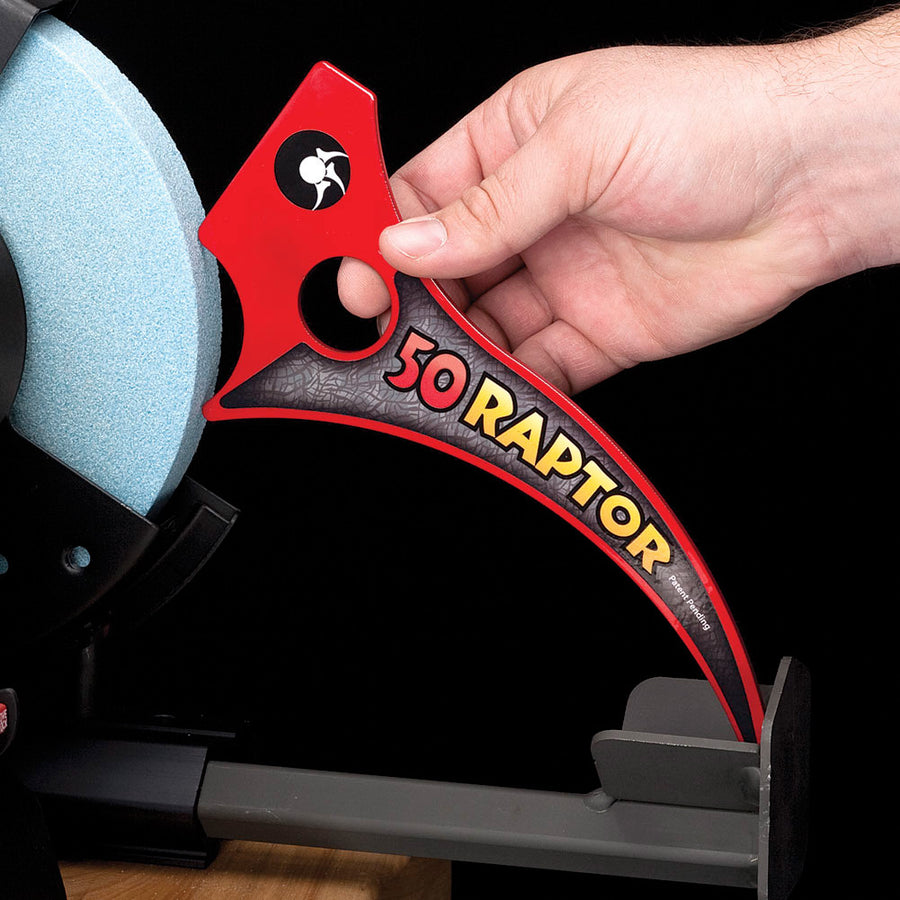
As a woodturner, the last thing you want to see when your lathe comes to a stop is an area with torn grain. It’s a common problem that we often experience when turning highly figured, open grain or soft-textured woods. There is an old saying: “My favorite gouge is 80 grit sandpaper”. There is a lot more truth to that than we may care to admit, especially when we encounter torn grain. Fortunately, there are several techniques including shear scraping and negative rake scraping that can help us avoid or remove torn grain. In this article, we’ll show you how to use the Crown Negative Rake Shear Scraper tool correctly so you can achieve the best tool finish on your woodturning projects. Lets get started.
What is The Difference Between Shear Scraping and Traditional Scraping?
Traditional scraping involves holding the scraper flat on the tool rest and cutting side-to-side. Although this technique produces good results in most cases, the cutting action created by a standard scraper can be overly aggressive for some woods. This usually results in the wood fibers being lifted and pulled out of the work rather than them being cut off cleanly at the surface. That’s when you have torn grain. There are ways to make a regular scraper less aggressive including lifting the tool handle slightly when cutting or changing the grind angle on the blade. Both of these techniques can help, but often times the scraper will still be too aggressive. Shear scraping still involves a scraper but rather than being held flat, you rotate the tool 45 degrees or more so the wood fibers are sliced away during the cut leaving you with a good surface.
Getting a Clean Cut
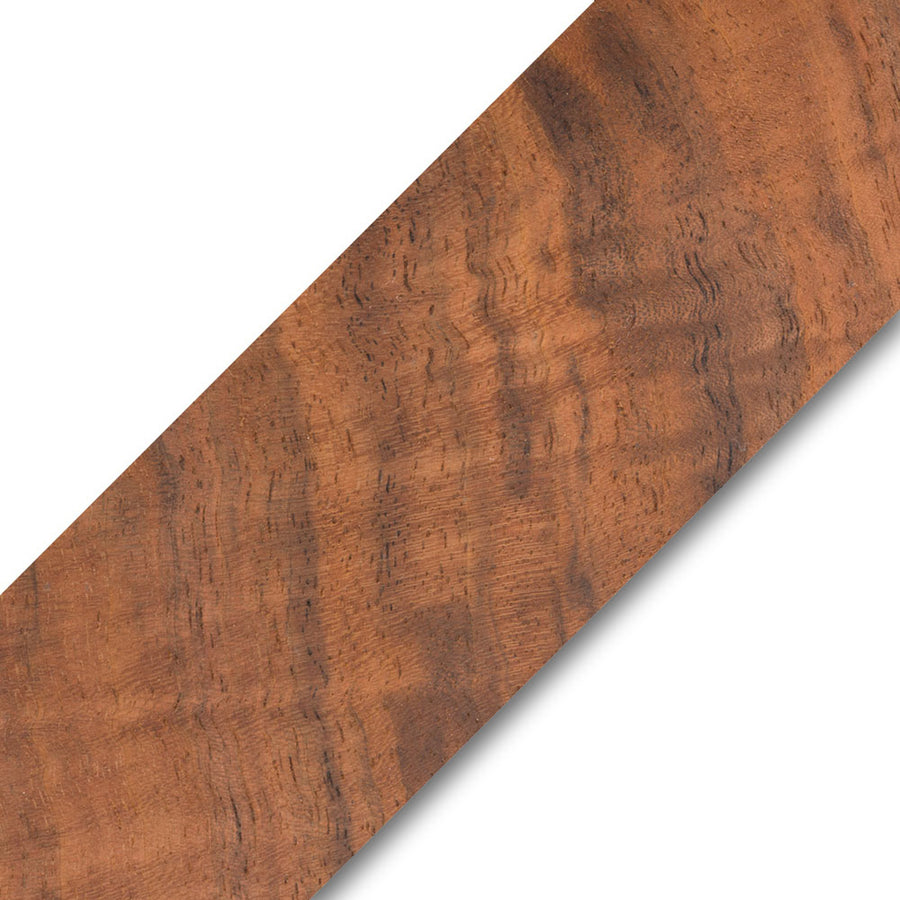
As most of us have experienced at one time or another, that it takes ages to sand out torn grain and most of the time there are still signs of torn grain when we are done. A while ago I was turning a fiddleback poplar bowl that had grain running in all different directions. Even with the best finishing cut I could produce using a freshly sharpened bowl gouge, there was still a significant amount of torn grain. I had read about shear scraping a number of times and even seen it done in demonstrations. Everything I’d seen and heard suggested it was beneficial when dealing with torn grain so I decided to give it a try.
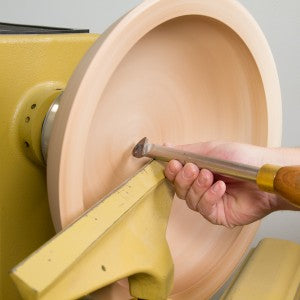
I retrieved the recently added Crown negative rake shear scraper from my toolbox and gave it a shot. I took a slow, delicate cut with the cutter positioned at 45 degrees to the face of the work and found fine ribbons of wood falling away from the tool as I cut. I stopped the lathe to inspect the surface and found the finish was much better than I had expected. The surface was so good that I knew I’d be able to begin sanding with 220 grit sandpaper. Making the cut was simple and easy. I don’t doubt it saved me what I’m sure would have been a lengthy sanding session with 80 grit. If you’re ready to try shear scraping with a regular shear scraper or the Crown negative rake shear scraper, review the steps listed below and I’m confident you’ll get some great results and spend less time sanding too!
Suggestions for Getting Great Shear Scraping Results
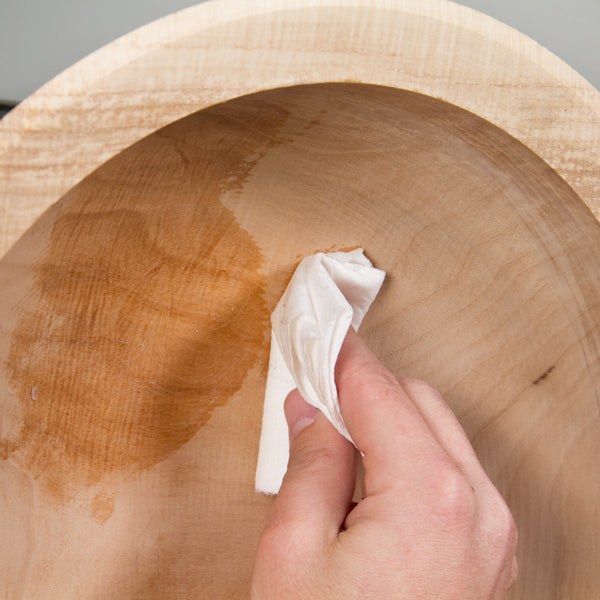
Work some paste wax or oil into the torn grain area before you make the cut. This technique taught by Ray Key and Richard Raffan softens and supports the wood fibers for easier cutting.
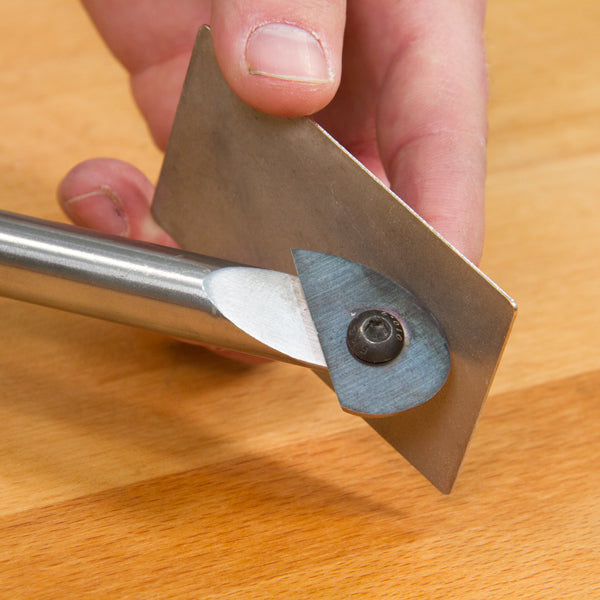
Make sure the cutting edge is freshly sharpened. A clean cut is not possible with a dull edge. The best way to sharpen a removable cutter is to use the platform on your grinder, or better yet, touch up the edge using a diamond hone.
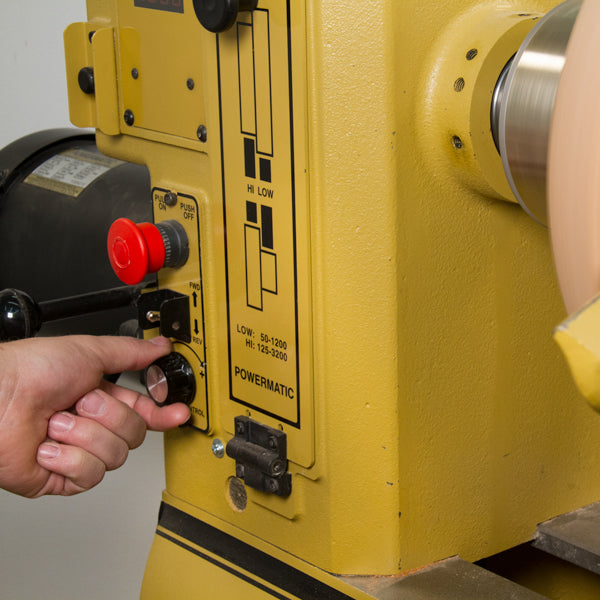
Slightly increasing your lathe speed in combination with making a slow, light cut will often improve results.
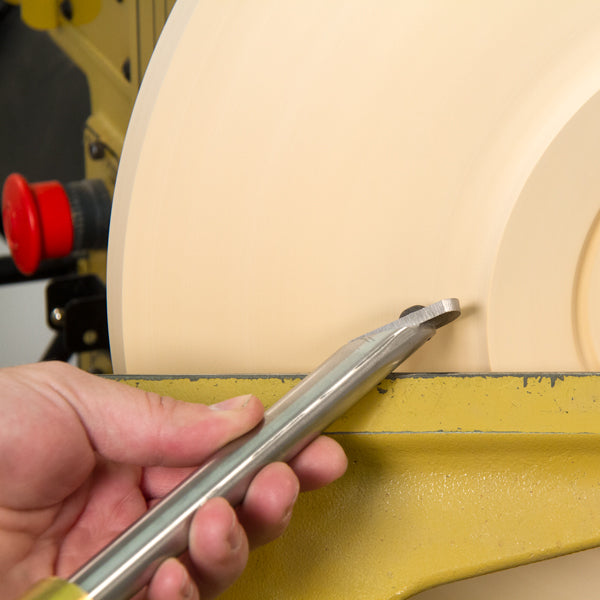
When shear scraping, place the tool on the tool rest then rotate it until the cutter is at 45 degrees facing the direction of the cut to be made. When shear scraping the inside of a bowl, start at the bottom and work your way toward the rim. When shear scraping the outside of a bowl, start the cut at the base and work your way toward the rim.
Hopefully these techniques will help you achieve a better surface on your next project. Try experimenting with different types of wood and slightly varying the angle of the cutter slightly to find what works best for you. Leave any comments or suggestions you might have in the comment section below, we’d love to hear them!
