Turning a JDG 2-Piece Ring
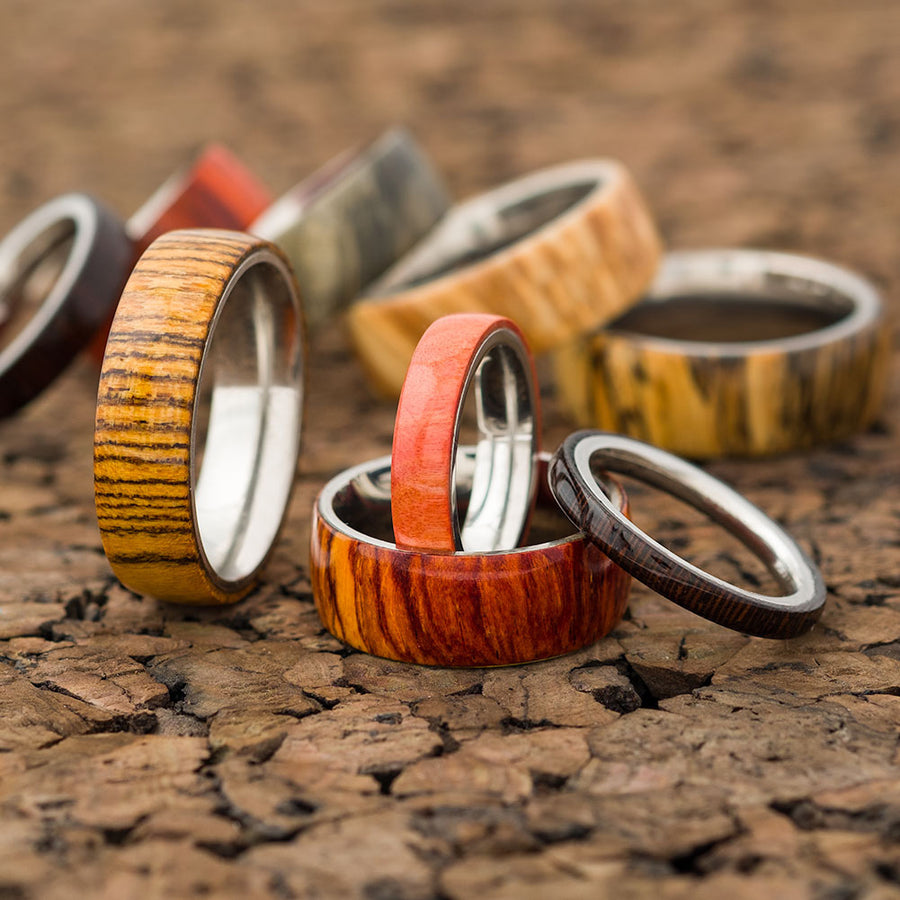
Turning rings is a unique project that always produces impressive results. Today we are going to turn a 2-piece, stainless steel ring core from JDG. The design offers a nice contrast of traditional metal band and wood, which helps protect your turning from scratches and will keep it looking great for a long time.
Prepare to Turn
Before we go to the lathe, we’ll need to make sure our blank has a flat reference face. Simply lay out some 220 grit sandpaper on a flat surface and sand one of side of the blank flat.
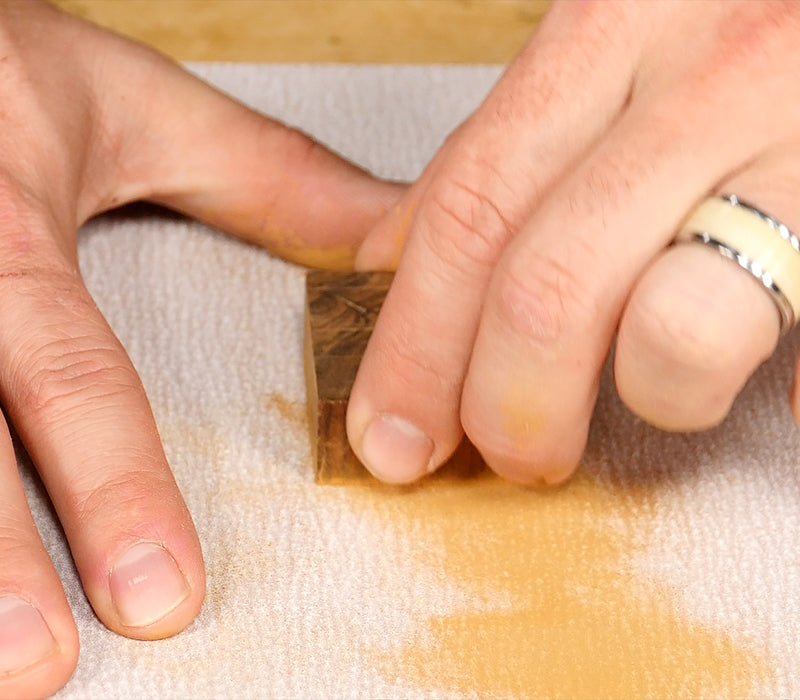
Now wipe off the dust and apply double-sided tape to the flattened side. Flip it over and mark the center for drilling.

At the lathe, mount a waste block, then true up the face using a skew. This will be our jig for drilling and rough turning the blank.
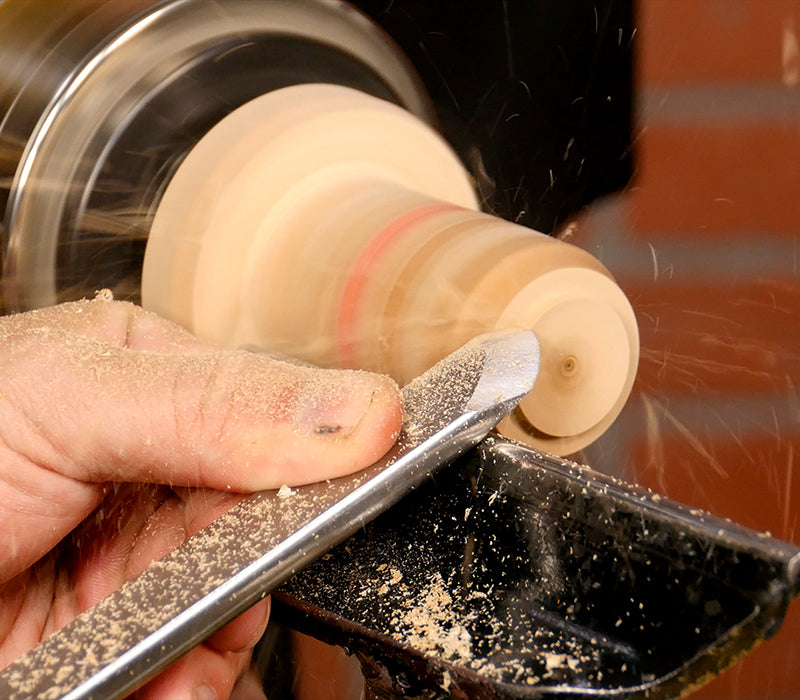
Use a cone center to line up the center of the blank to the waste block. Apply firm pressure so the tape adheres to the waste block.

Turning
With the lathe running around 2,500 RPMs lightly rough-turn the ring blank to round using a spindle gouge.
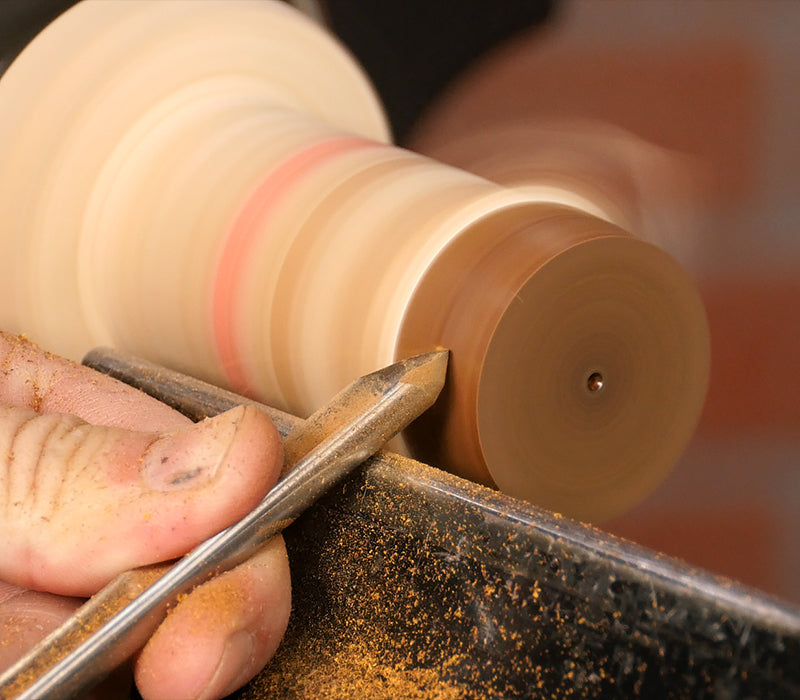
Once the blank is round, it’s critical that we turn the blank to a thickness just a hair over 6mm, so use your digital calipers here to double-check your work, this needs to be precise.
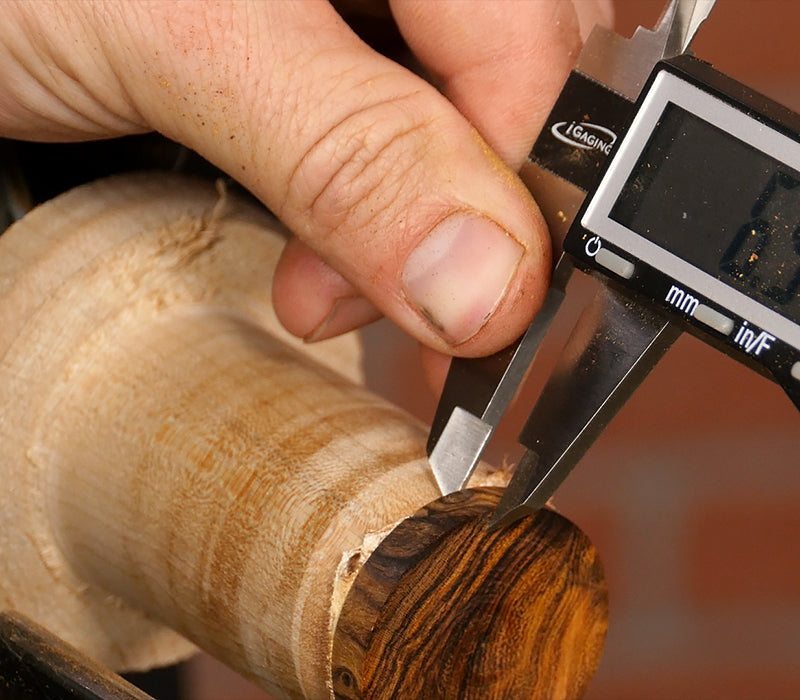
Once we’re just over 6mm, set your lathe to around 750 RPMs and drill a hole through the blank using a drill chuck and a bit that’s about half the size of your ring’s diameter.
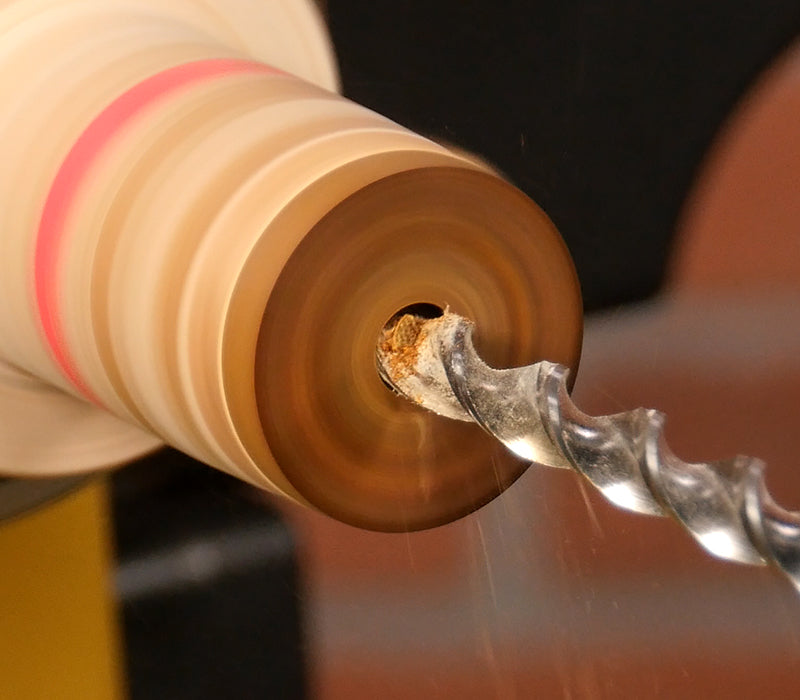
With your lathe back at 2,500 RPMs, carefully use a scraper and open up the diameter of the blank until the core can just slip inside. Check the fit frequently for the correct fit.

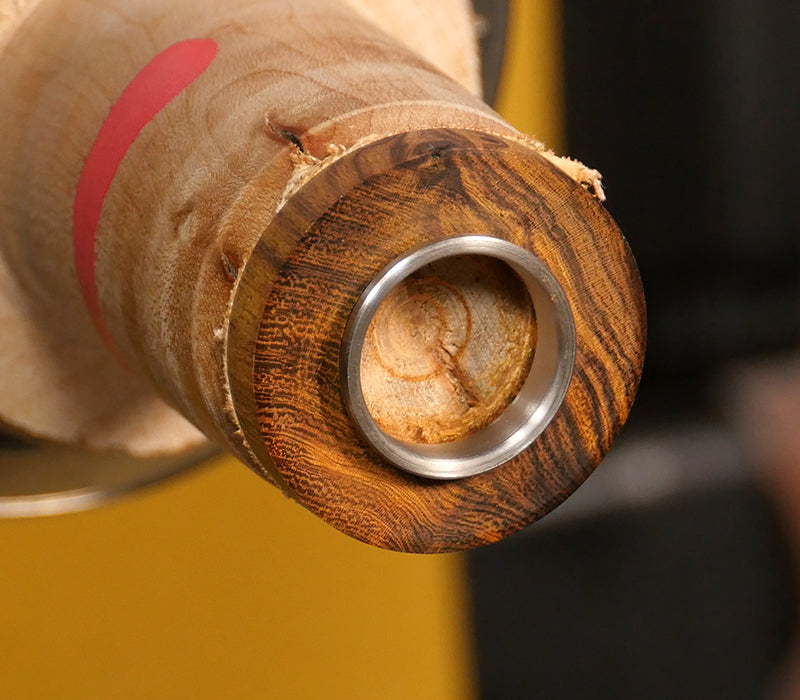
Now take the core off the lathe and remove the double-sided tape.
It’s critical here that the blank is exactly 6mm thick for a precise fit. To get it right on, sand the turned side of the blank in a figure-eight pattern on a piece of 220 grit sand paper. Check it frequently with digital calipers and stop when they read 6mm.
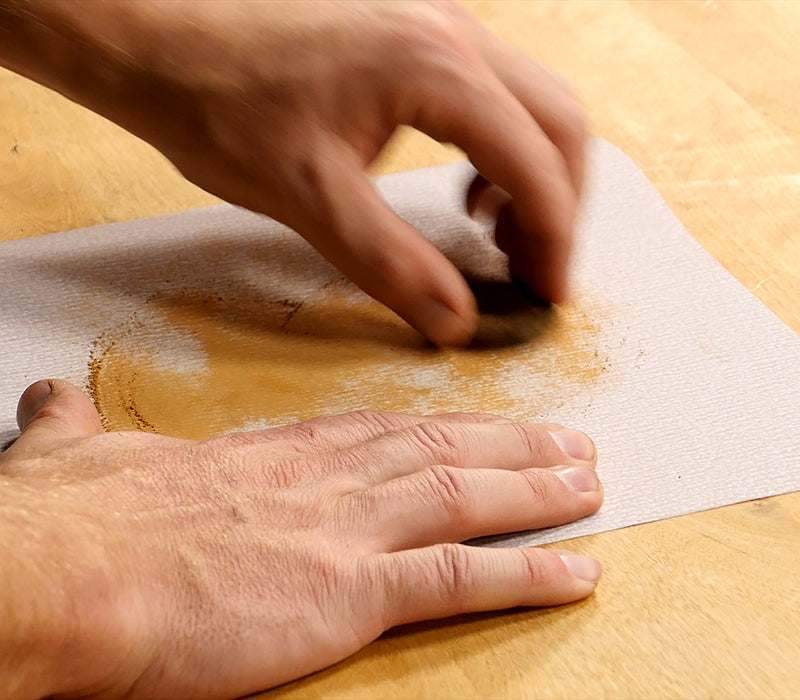
Once we’re spot on 6mm for the thickness, we are ready to glue the blank onto the ring core.
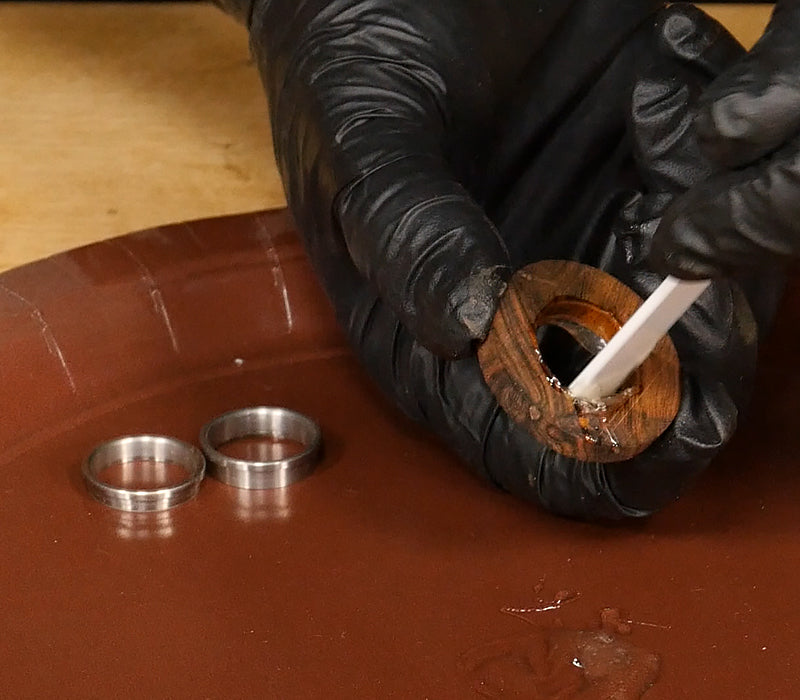
To glue them, we recommend using an epoxy for a flexible and permanent bond.
Apply a generous amount of epoxy to the inside of the ring blank, then insert the two halves of the ring core. Use a mallet and lightly tap the cores until they’re properly seated. Wipe away any excess epoxy and let it cure.
These rings can be turned using Ring Bushings or the Ring Turning Chuck, but for the we recommend using the JDG Pro Ring Mandrel. Mount the pro ring mandrel inside a collet chuck because if possible, that is the most accurate way. If you don’t have a collet chuck you can mount it in a drill chuck.
Insert the ring core onto the right-sized step and lightly tighten with a hex wrench.
Turn a flat profile using a skew with the lathe running about 2,500 RPMs. Use the sides of the ring core as sizing indicators. And don’t worry if you scratch up the metal surface a little bit, we’ll buff out everything in a minute.
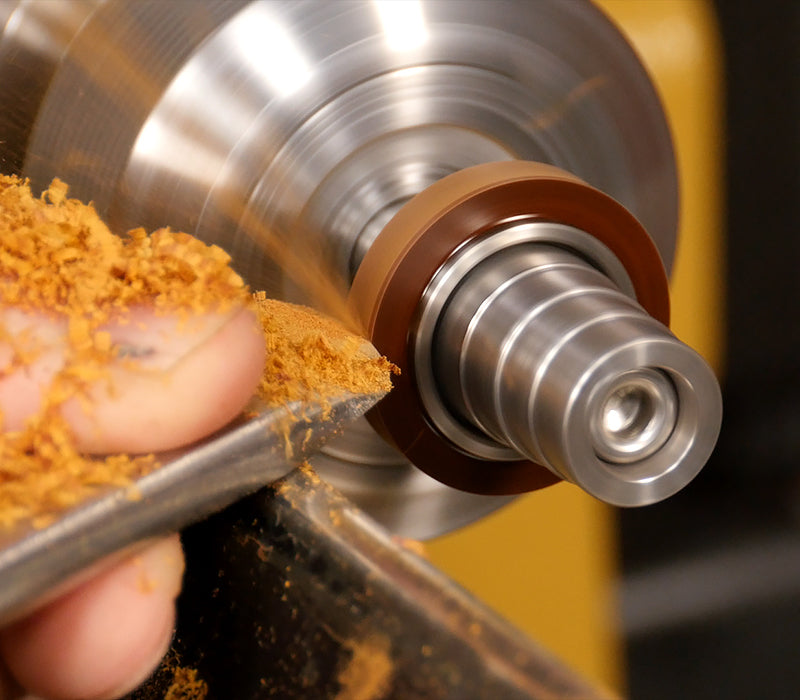
Once the blank’s perfectly flush with the ring, sand it through 600 grit on both the metal and wood. This will clean up any scratches on both the core and the blank.
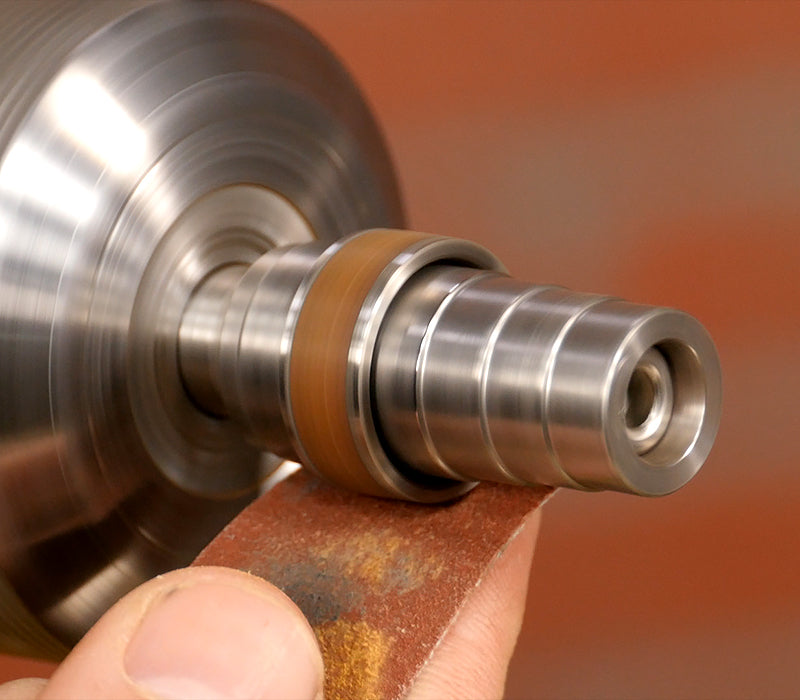
The stainless steel comes with a satin finish, but I want a more polished look for my ring, so I’ll apply some scratch free polishing wax to both surfaces. I’ll also polish the sides of the core, so that the sheen is consistent throughout. Now apply some plastic polish for the final sheen of the blank and the core, following the same procedure as the wax.
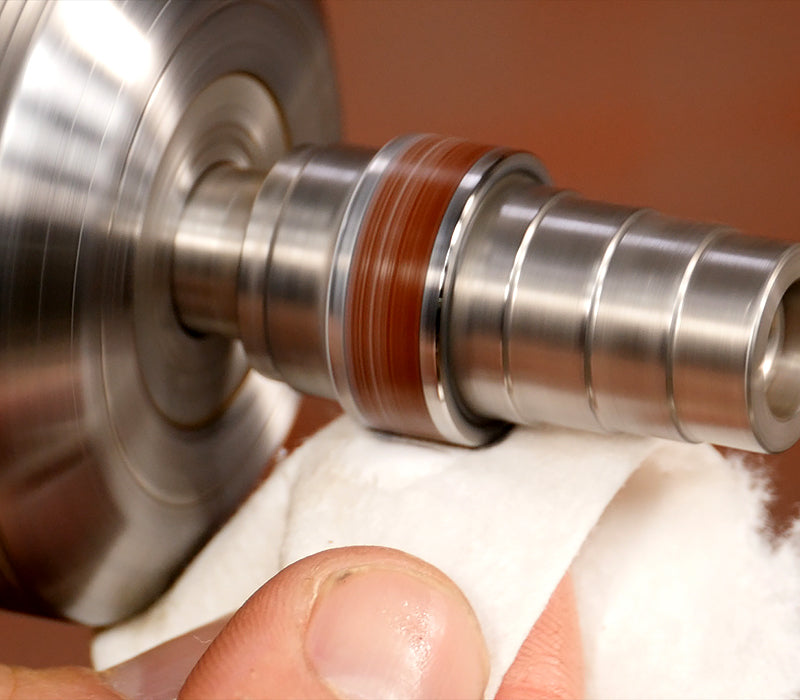
I’m all finished, but I want the inside of the core to match the sheen as well. Take the ring off the lathe, apply some masking tape around the it to keep from scratching, then carefully secure the ring with a set of pin jaws.
For safety reasons, use a wooden dowel and apply some scratch free polishing wax into the core. DO NOT, under any circumstances, insert your finger into the ring while it’s turning.
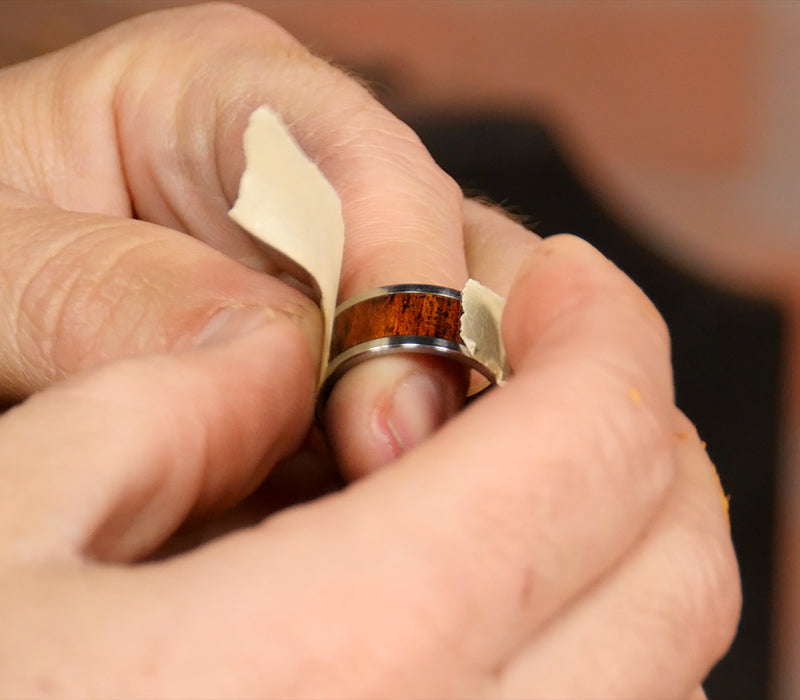
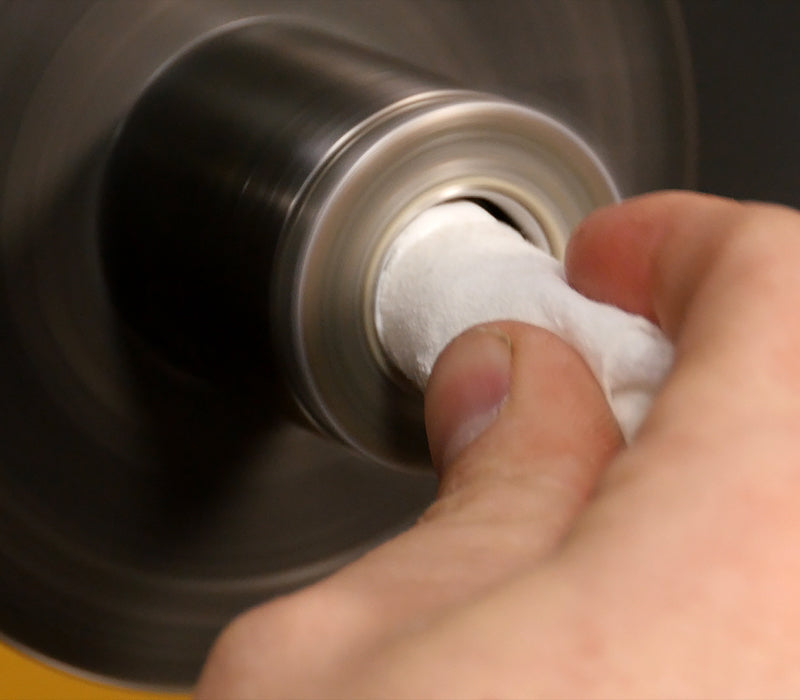
Now do the same thing with some plastic polish for the final sheen of the ring.
If you don’t have pin jaws, you can also use a Dremmel with a small buffing wheel. Just apply scratch free wax, then polish the ring with plastic polish as well.
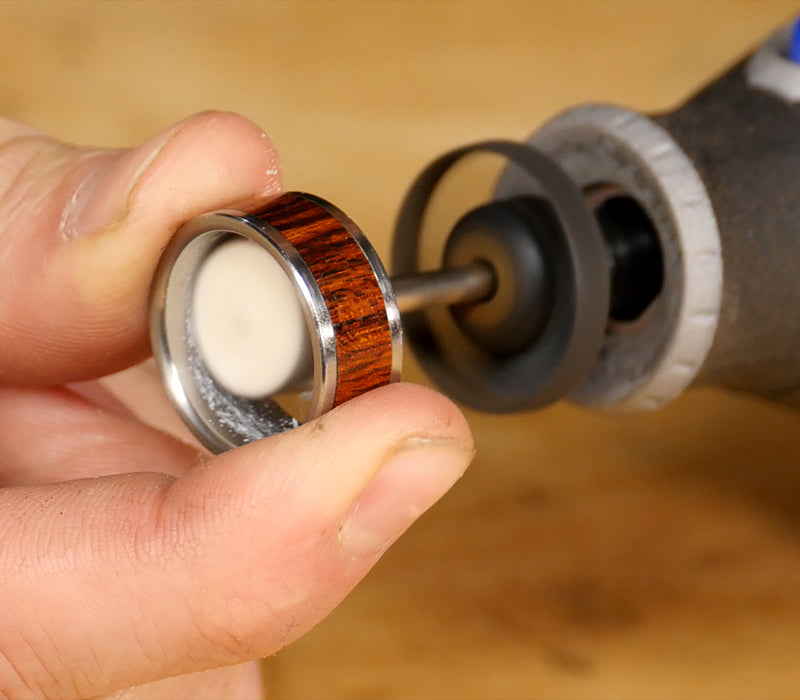
Once it’s polished, you’ve got yourself a beautiful, unique piece of jewelry to show off!
Supplies Used
JDG 2-Piece Ring Core
JDG Pro Ring Mandrel
Ring Blank
Double-Sided Tape
Digital Calipers
Skew Chisel
Scraper
Sandpaper
Scratch Freee
Plasti-Polish
