Turning a Ring with Glow Inlay Powder
Glow powder inlay adds a unique look to your projects on its own, but the fact that it glows in the dark for up to ten hours is really cool!
We offer it in both green and blue, and it’s easy to add into your projects with just a little instruction. Let’s go to the lathe and add in some glowing inlay.
Turn the Project
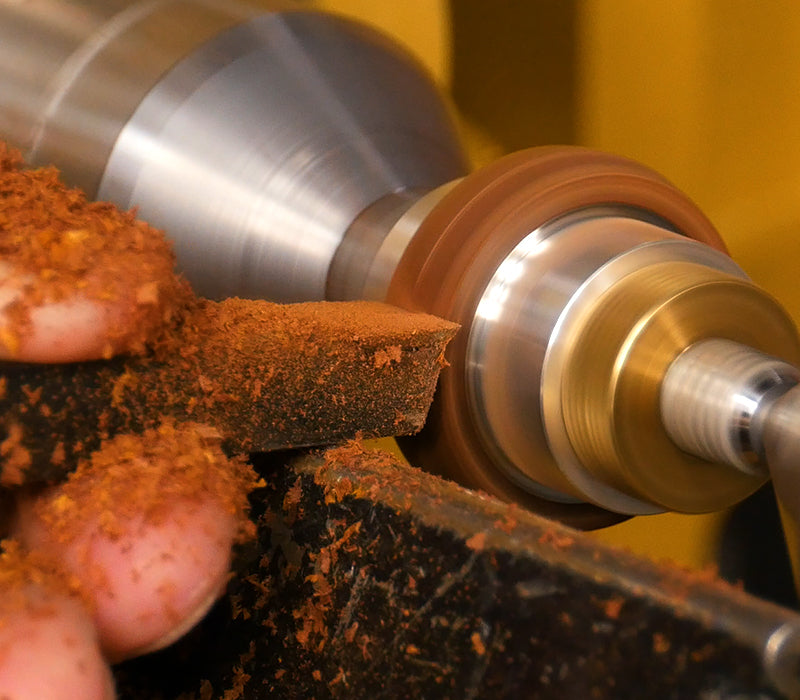
You’ll want to start by turning the ring down just a hair larger than its final size.
Inlay the Glow Powder
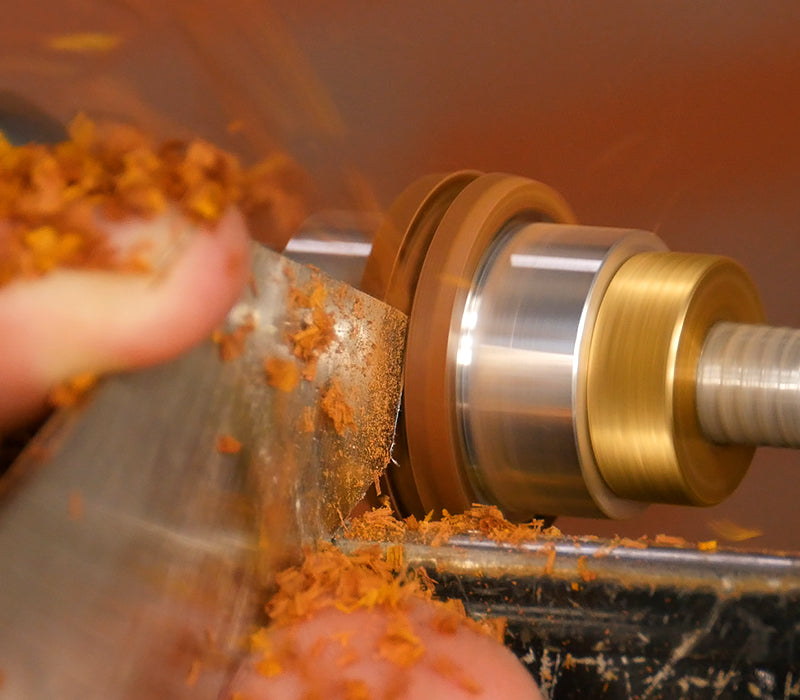
Take a narrow parting tool and cut a groove into the body all the way to the rings core, (or the brass tube if it’s a traditional project.)
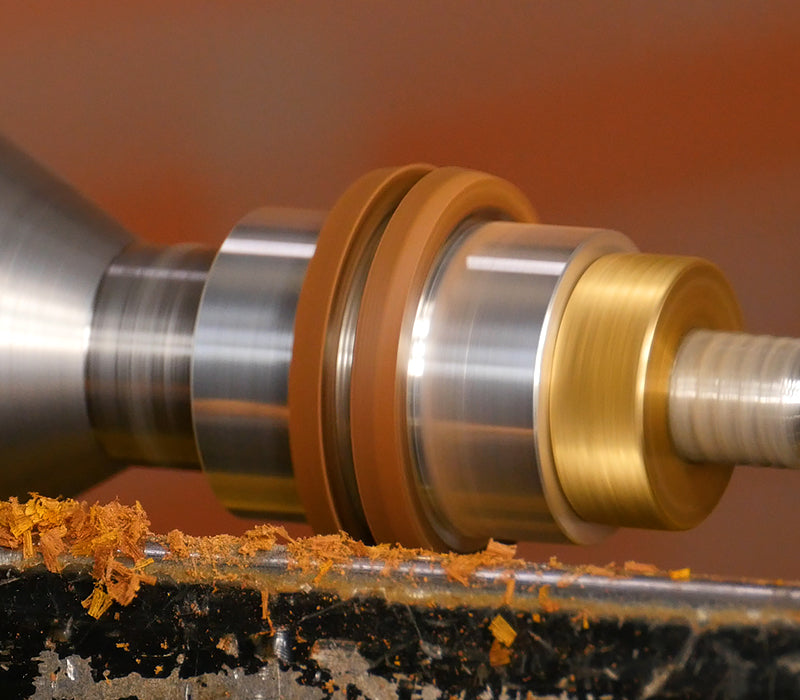
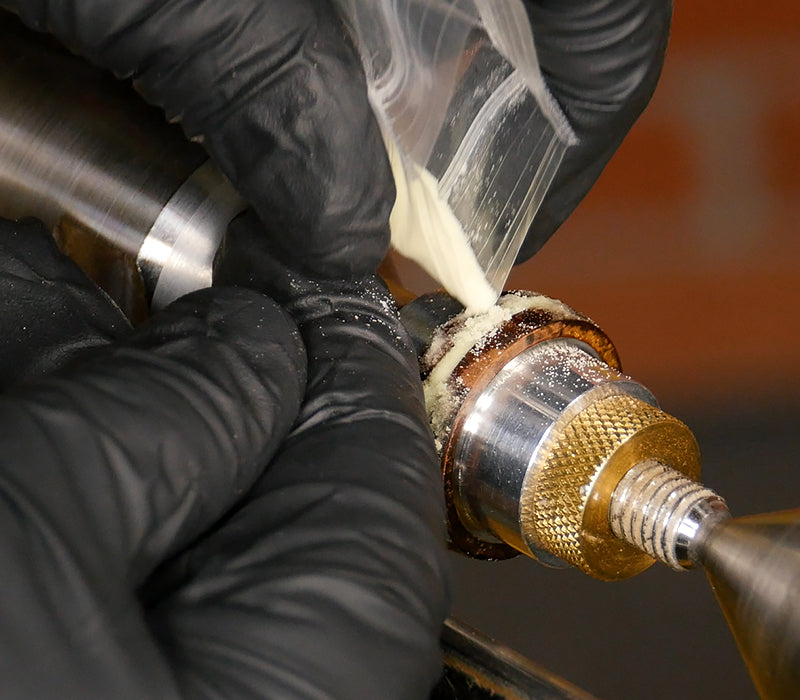
Working on one section at a time, pour a little glow powder into the groove until it’s filled.
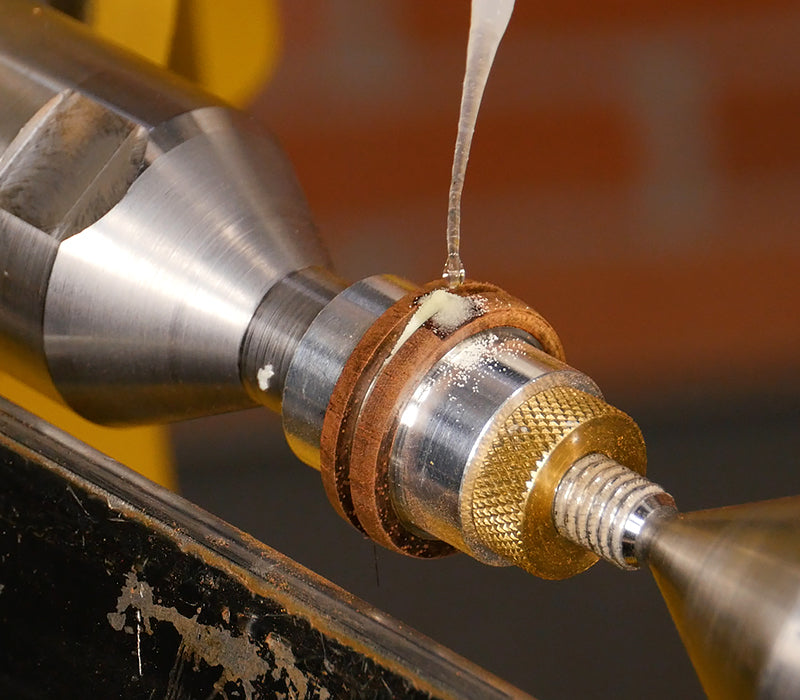
Carefully pour just a couple drops of thin CA glue into the filled section, then repeat the process until the entire groove is filled with inlay and glue.
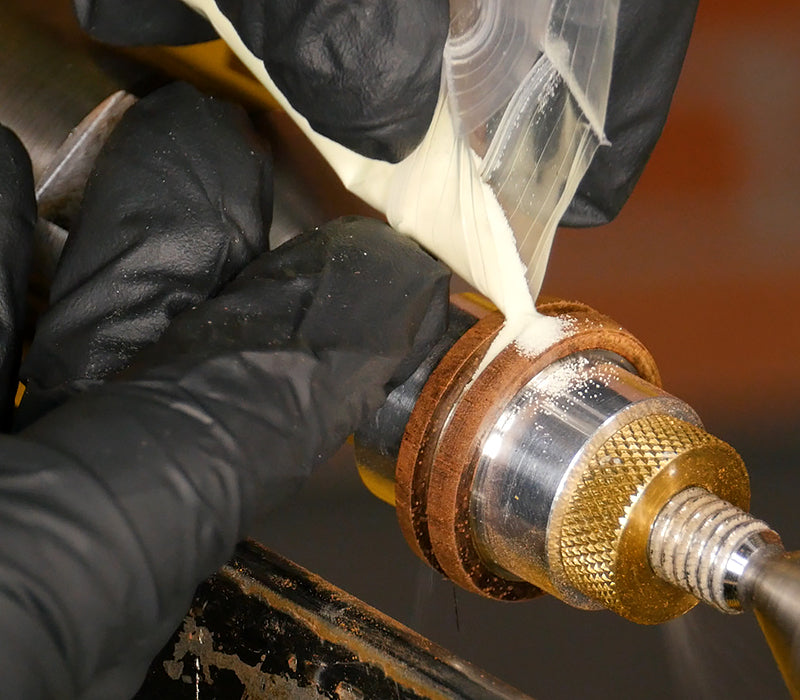
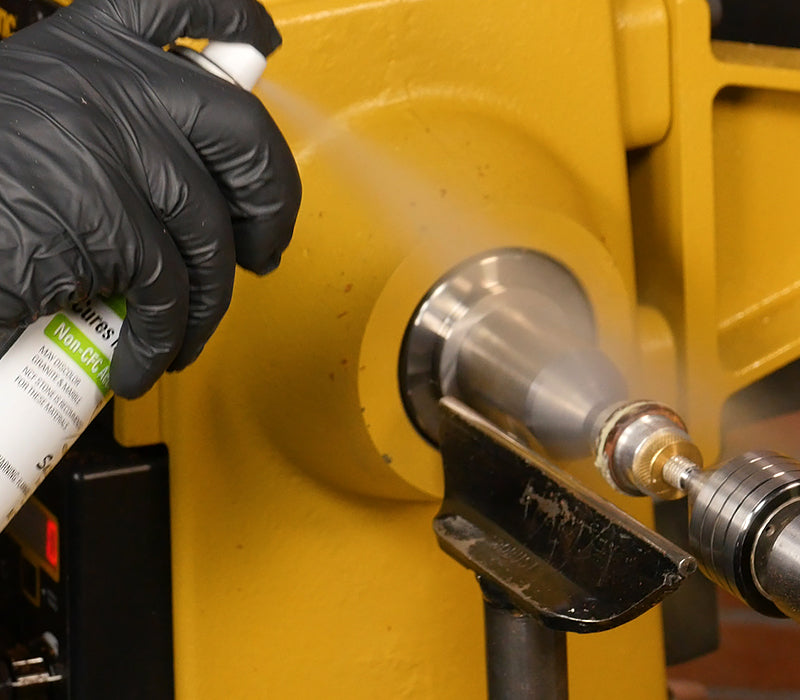
Now lightly spray on some activator to set the glue. It only takes a few seconds before it’s ready to turn.
Finish Turning
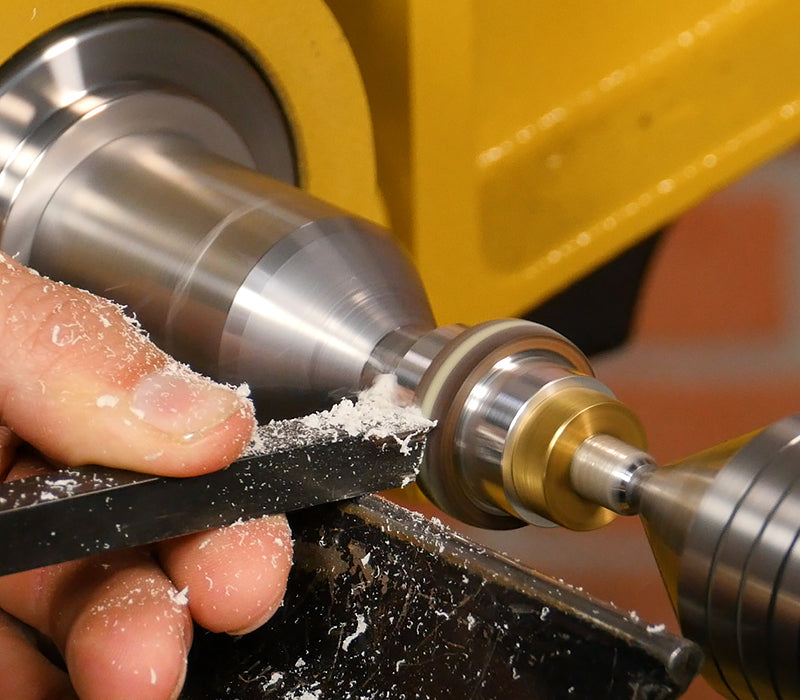
Before turning, I want to emphasize that glow inlay is a very hard stone compound, so traditional high speed steel won’t cut it. You’ll need to use carbide turning tools to cut the stone. I prefer to use a radiused square cutter to give me the cleanest finish.
Turn the ring down to its final shape, then sand through 320 grit.
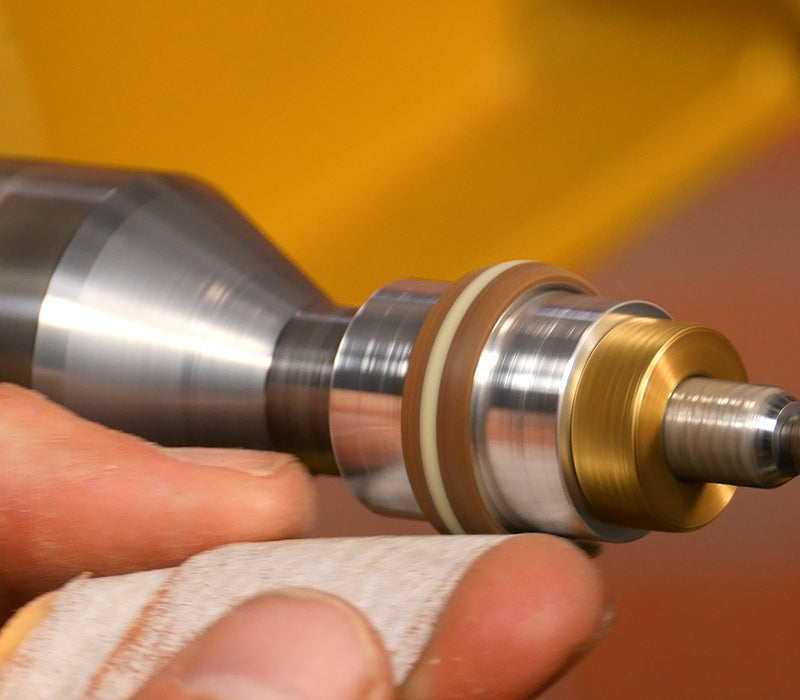
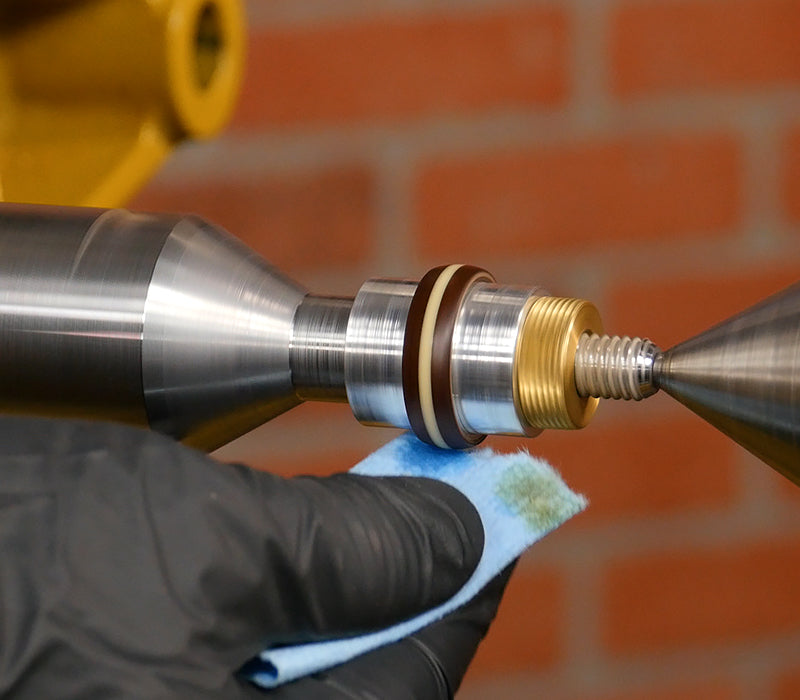
Apply a finish to the ring. I like to use a CA finish on rings, because it’s durable and gives it a high-gloss.
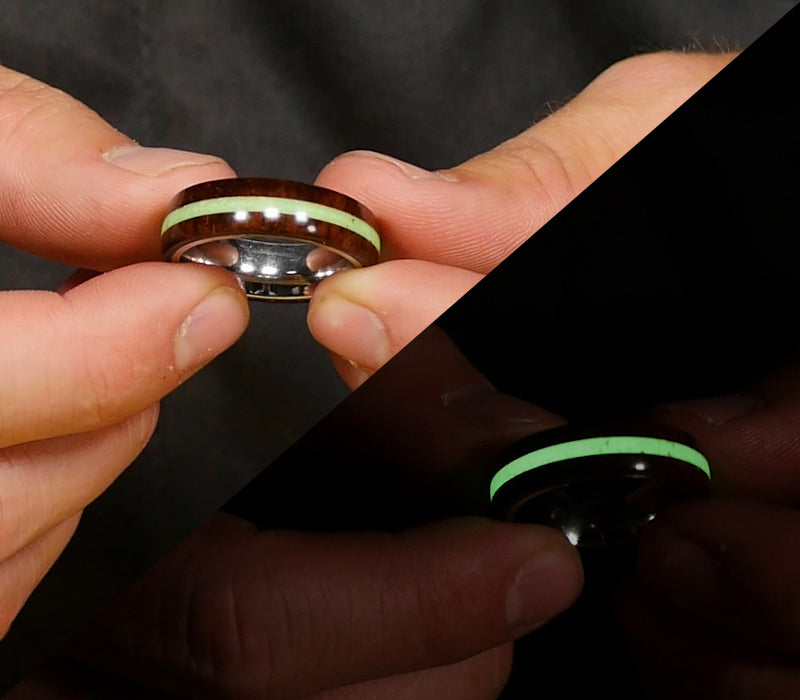
The glow inlay is all finished on the ring. Just give it some sunlight, then hit the lights and watch it glow!
Supplies Used
Glow Inlay Powder
Comfort Fit Ring
Ring Turning Chuck
Easy Pen Turner
Narrow Parting Tool
Thin CA Glue
Aerosol Activator
Sandpaper
