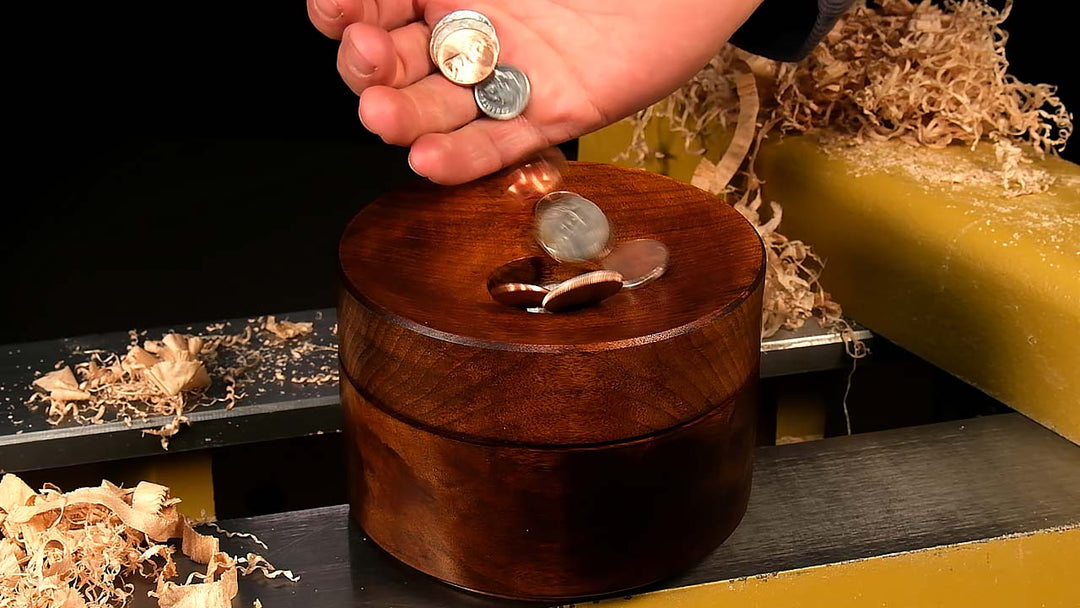
Turning a Snowman Box
Snowmen are a staple in most holiday decorations. So Turn a festive Snowman Box that is sure to be this year’s favorite decoration. This woodturning project requires only a few tools and a little creativity.
Helpful Diagram
First of all, be sure to print the diagram below before you start turning this project. These diagrams will help you get the critical dimensions right and show you a simple snowman box that we like to turn. If you have any questions while you’re turning this project give us a call at 1-800-551-8876 and we’ll be glad to help.
Blank Preparation
Select a blank that is 3″ x 3″ x 4-1/2″, preferably a hardwood like Ash or Maple. Use a center finder and mark the center on each end of the blank. Mount the blank on the lathe between centers using a cone center and drive center.
Turning the Blank
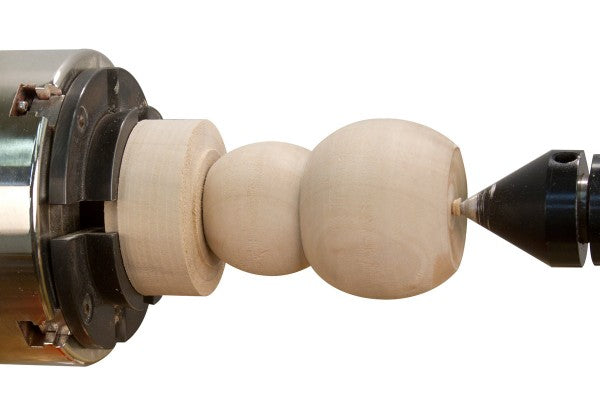
With a roughing gouge turn the blank to round. Turn a tenon on one end of the blank to fit in the jaws of your chuck. ( Turn the tenon to match the profile of your jaws for a secure hold.) Mount the blank in a chuck using the tenon. Support the opposite end with a revolving center. Using a spindle gouge turn the snowman body to shape as per the Snowman Diagram dimensions. Remove the revolving center and use a 7/8″ forstner bit mounted in a drill chuck and drill a hole in the blank 2-1/2″ deep. Using a parting tool, part off the blank leaving 1/8″ of excess material on the base of the snowman. Leave the remaining blank in the chuck. Turn a 1/2″ long tenon on the remaining blank to fit the drilled hole in the snowman. Check for fit frequently.
Reverse Chucking
Mount the drilled end of the snowman on the tenon. Use a revolving center in the tailstock to support the blank. Turn a flat or slightly concave base on the snowman. Leave a small tenon of waste material to support the blank while sanding and finishing.
Sanding and Finishing
Sand the snowman through 320 grit or higher. Finish the wood with a finish of your choice, or add a finishing touch to your snowman with white liming wax or a white spray paint to color the snowman body. Remove the snowman from the lathe. Use a chisel or handsaw to remove the remaining waste material from the base of the snowman. Sand and finish the exposed ends.
Turning the Head and Hat
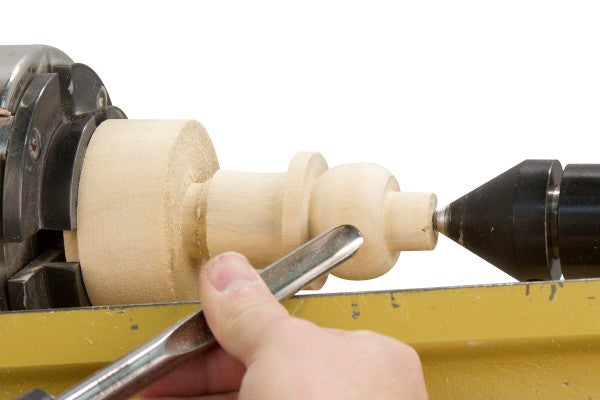
Select a blank that is 3″ x 3″ x 3-1/2″. Use a center finder and mark the center on each end of the blank. Mount the blank on the lathe between centers using a cone center and drive center. With a roughing gouge turn the blank to round. Turn a tenon on one end of the blank to fit in the jaws of your chuck. ( Turn the tenon to match the profile of your jaws for a secure hold.) Using a spindle gouge turn the snowman hat/head to the diagram dimensions.
Sanding and Finishing
Sand the snowman hat/head through 320 grit. Finish the snowman hat/head with your choice of finish. We recommend using Deft Clear Wood Finish to seal and finish the blank. Apply the Deft to the snowman hat/head with the lathe stopped using a brush or rag. Apply liberally to the blank and wipe off the excess. Once dry, use a paste wax and steel wool while the lathe is running to smooth the deft, leaving a sealed and streak-free surface. Match the head to the body and use white liming wax or spray paint to color the snowman head white. To make an authentic snowman, use a Tombow marker to color the hat black.
Hint: You could also use paint or black shoe polish if needed.
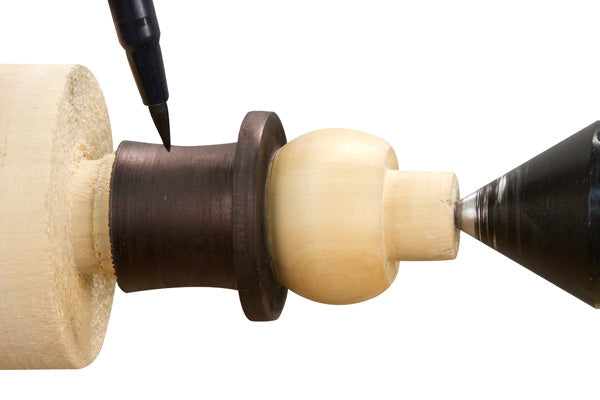
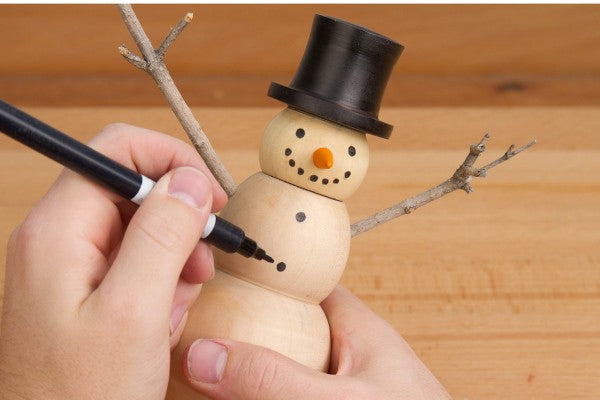
Use a Parting tool or long point of a skew and part the snowman hat/head from the remaining blank. Sand and finish the top of the hat. Use a woodburner or black marker and draw a face and a few buttons on the snowman. One alternative I prefer is to glue Inlace nuggets or crushed stone onto the snowman to be the buttons.
Turning the Nose (Optional)
Drill a small nose hole in the face of the snowman. With a small piece of scrap wood, turn a small nose that will fit into the drilled hole. Color the nose orange with a marker. Glue the nose into the drilled hole using a little CA glue.
Making the Arms (Optional)
Adding arms to this snowman will really add a decorative touch. Drill two arm holes in the snowman that will fit a couple small twigs. Use CA Glue or Epoxy to glue the twigs into the arm holes. Make sure you don’t use too much glue or it will spill out and onto the wood.
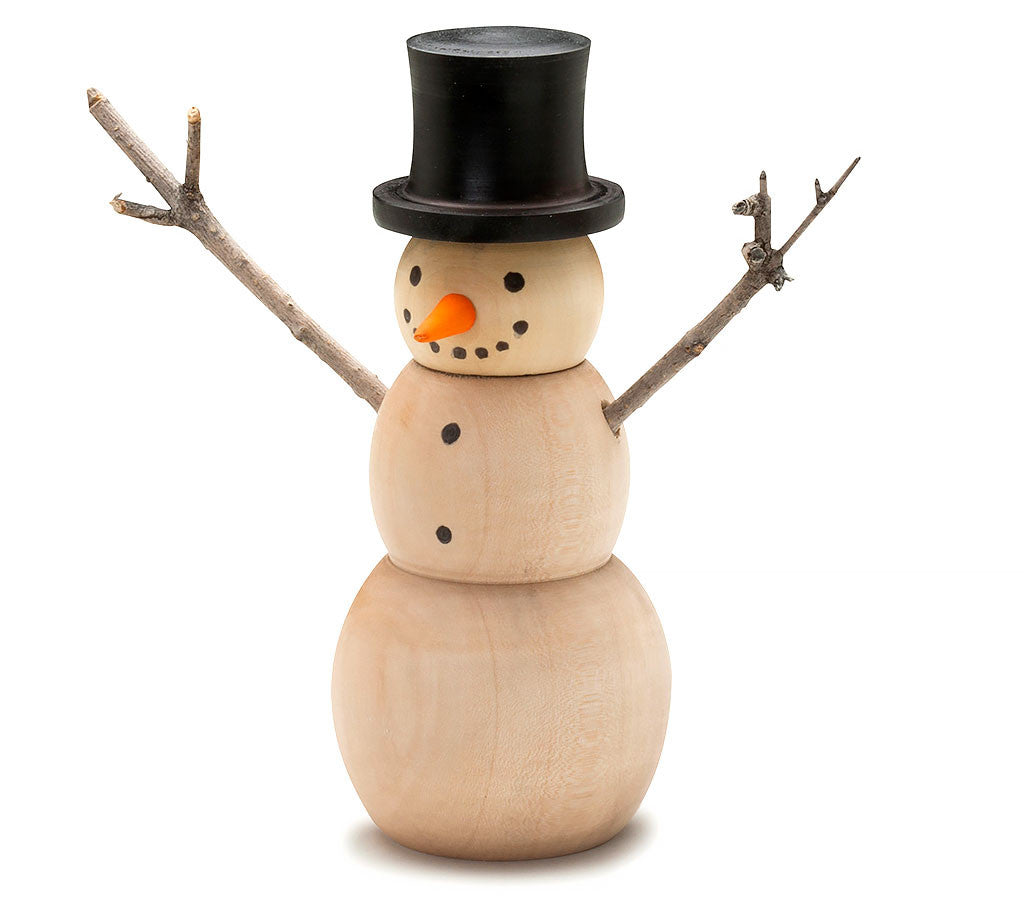
Hopefully you had fun turning a snowman box. Try turning a few more with different shapes and find out which one you like best. Leave any comments or suggestions you might have in the comment section below, we’d love to hear them!
