Turning an Egg
Turn some eggs for Easter or just for fun. Turning eggs is also an enjoyable and simple way to hone your woodturning skills.
Preparing the Blank
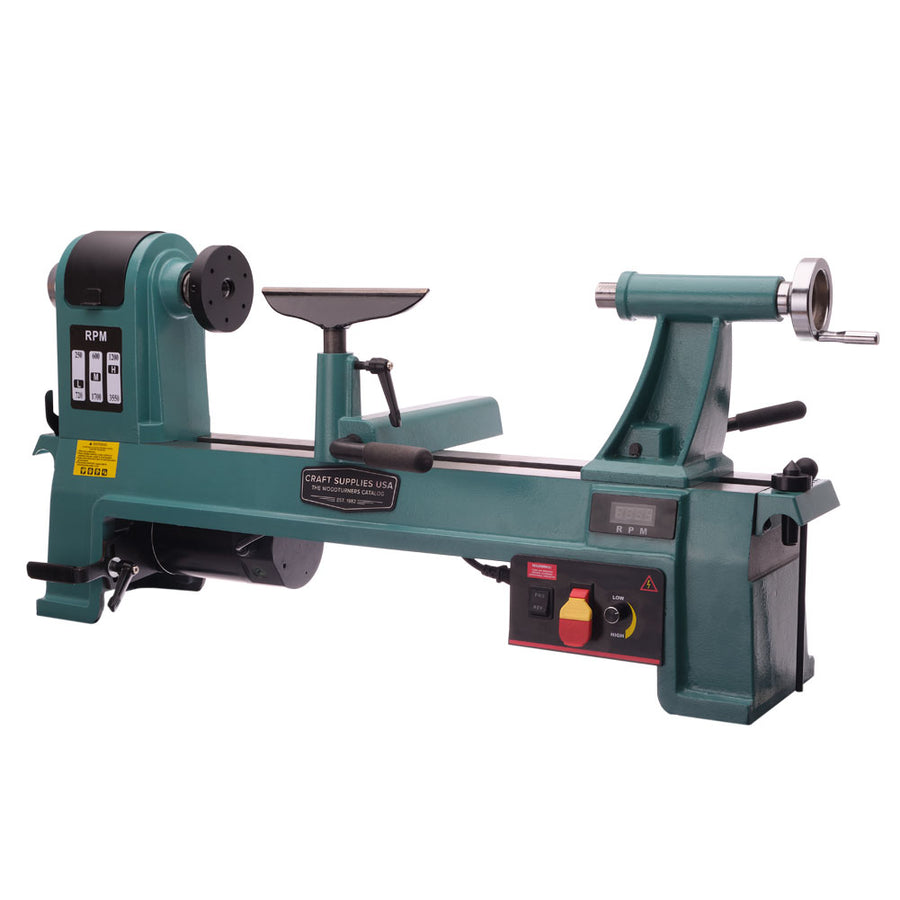
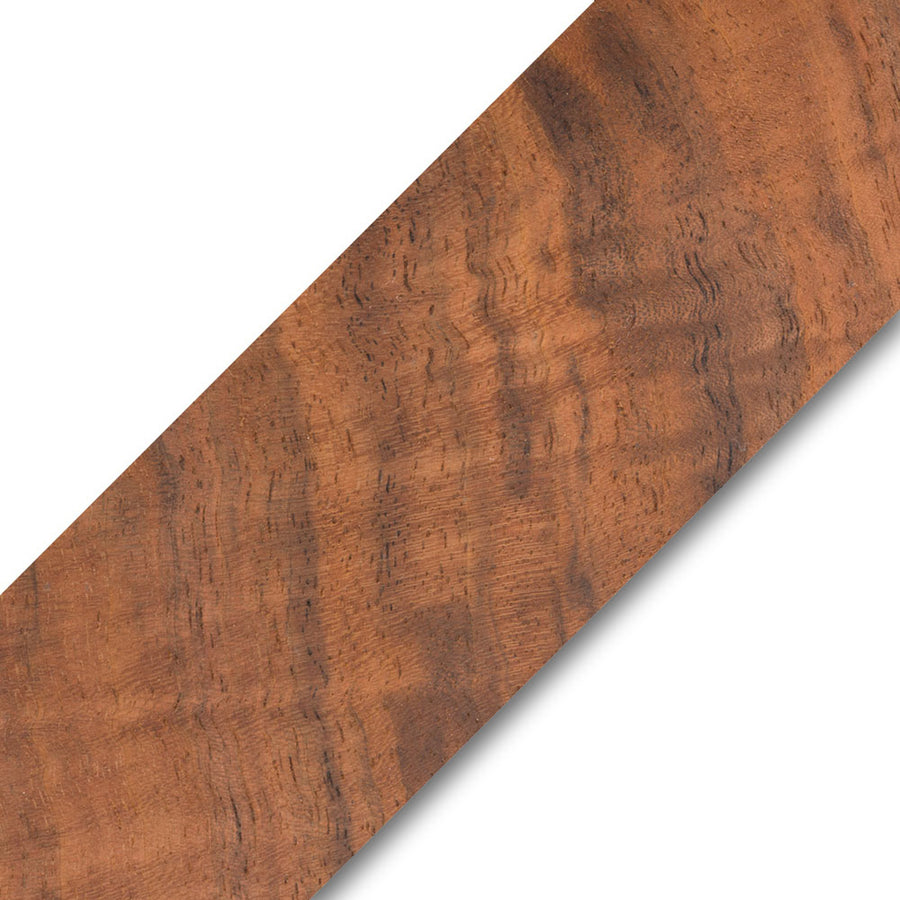
Let’s start by selecting a blank 2” x 3”. If you plan on coloring the egg, select a blank that is light in color such as Holly, Silver Maple, or Ash. Mark the center on each end of the blank. Mount the blank on your lathe, we recommend using multi-tooth centers for your safety in the event of a catch.

Turn the blank to round with a roughing gouge. Now we need to cut a tenon on one end of the blank to mount in a chuck, do this using a skew or dovetailing tool.

Turning the Blank
Mount the blank in your chuck using the tenon we just cut. Let’s begin to shape the egg, for this we like to use a spindle gouge with a fingernail grind. To keep the shape anatomically correct, grab an egg from your fridge and use it as a guide when turning your egg.

Once your egg is turned, sand the egg to 320 grit. If you’re going to color the egg, we recommend using a sanding sealer prior to dyeing, for even penetration of the dye.


Dyeing and Finishing the Egg
With the lathe running slowly (50 – 100 rpm), apply an even layer of dye using a small rag or cotton swab. Apply as needed until a uniform color is achieved. Using a small rag, finish the dyed area of egg using Myland’s Frictions Polish or a similar finish. Carefully part off the egg using the long point of a skew chisel or small hand saw. Make sure to support the egg with your hand while cutting to prevent the egg from contacting the tool rest or dropping on the floor. Sand, dye, and finish the newly exposed ends of the egg.


Now turn a few more eggs and display them in a wooden bowl or use them for an Easter egg hunt!






Leave a comment