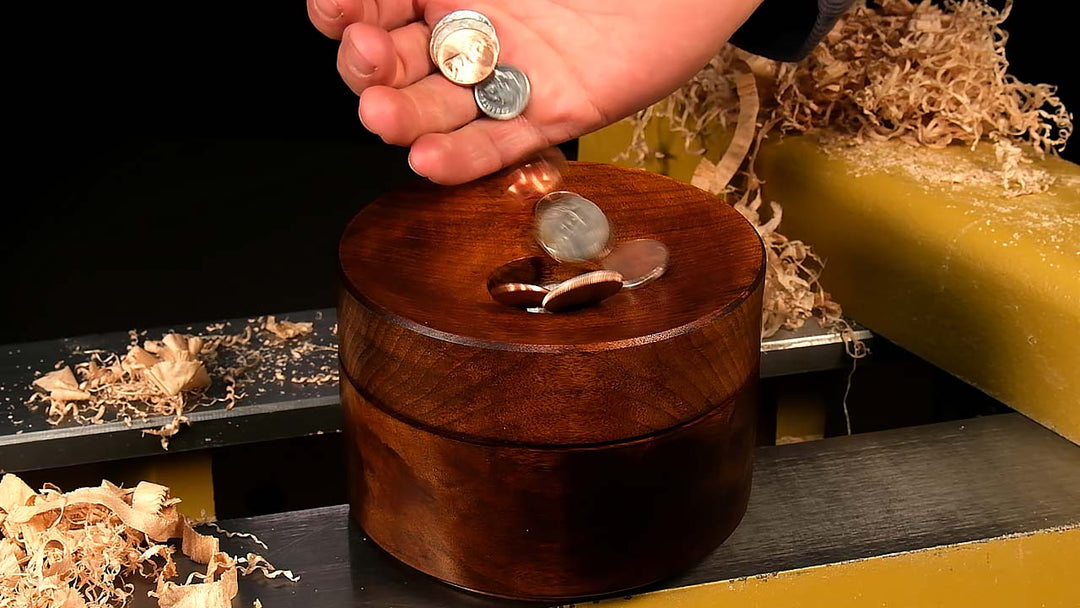
Dale Nish Finishing Process
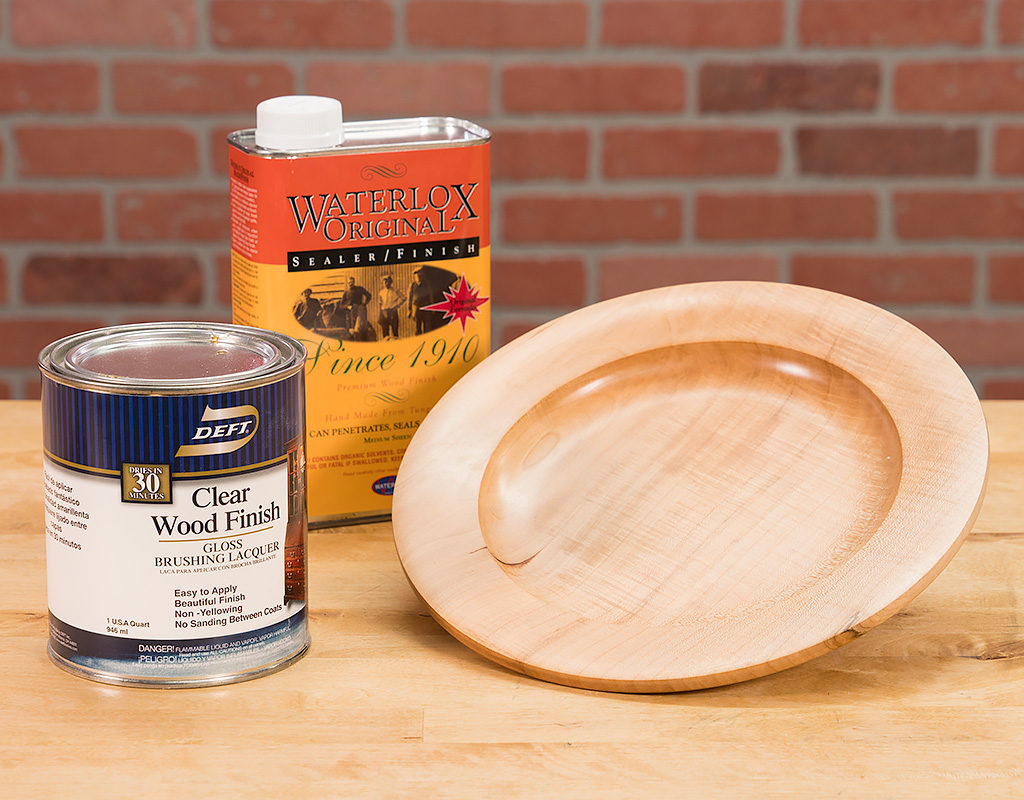
The Deft and Oil finishing process was taught by Dale L. Nish in our Woodturning Workshop program for over 25 years and is still our preferred method of finishing.
A few of the many reasons this finishing process is so popular is that it’s easy to follow, allows you to use oil finish without the risk of darkening the wood, and it produces a durable finish that requires minimal maintenance. It also works on salad bowls and kitchenware when you need a food-safe finish.
A couple of things to keep in mind when using Deft –
- We recommend thinning Deft by 50% with lacquer thinner. It makes application much easier and dries faster when thinned.
- Always mix the Deft prior to use as it tends to separate quickly.
- In our workshop, we use a finishing jar with brush as it’s easy to make and is a very effective way to store and apply Deft. It also makes thinning the Deft easier too as you can see what you’re doing when thinning and mixing.
- For bowls intended for use with food, wait 30 days after finishing before using.
Let’s get started with the Deft and Oil Finishing Process
Step 1
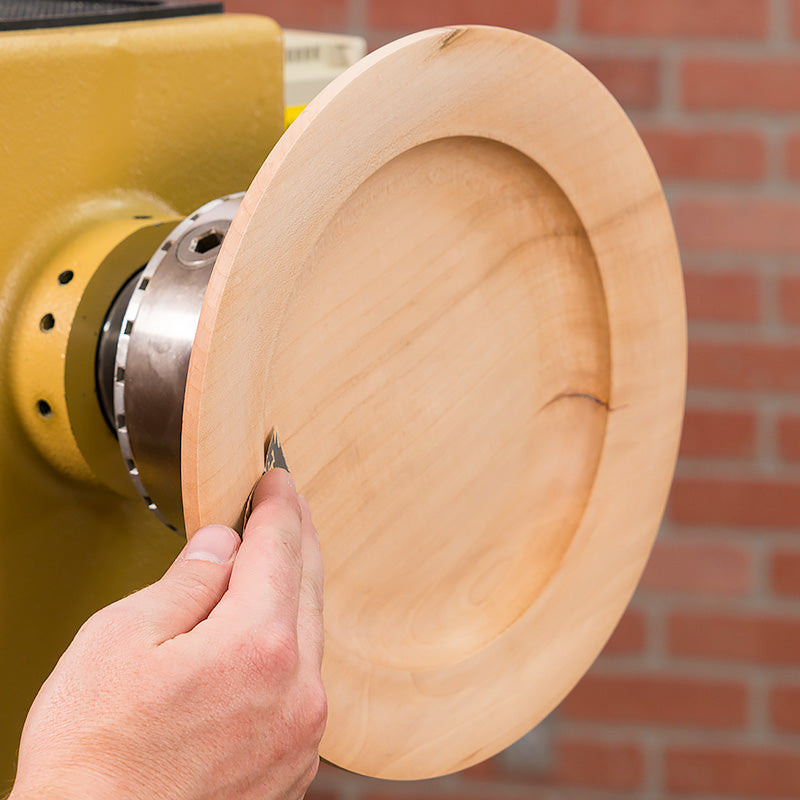
Thoroughly sand the turning in preparation for finishing. Be sure to remove all sanding marks and blemishes including torn end-grain as finishing will only make them more prominent.
Step 2
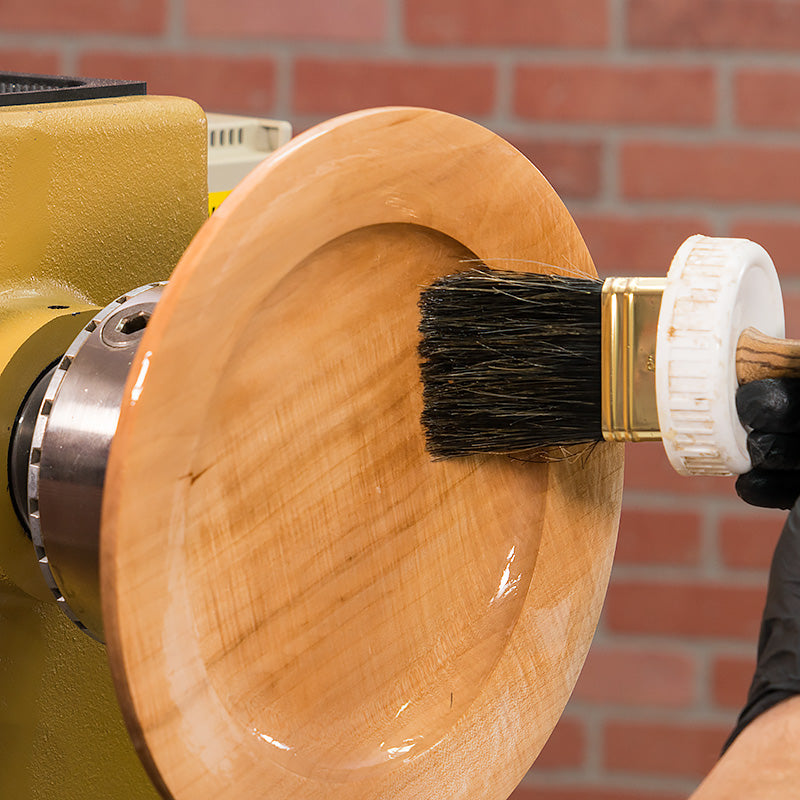
With the lathe stopped, brush on a generous coat of Deft onto the work piece and let it soak in for a few minutes. If you see dull spots appear in the coating (primarily endgrain areas), apply more Deft and let it sit a bit longer.
Step 3
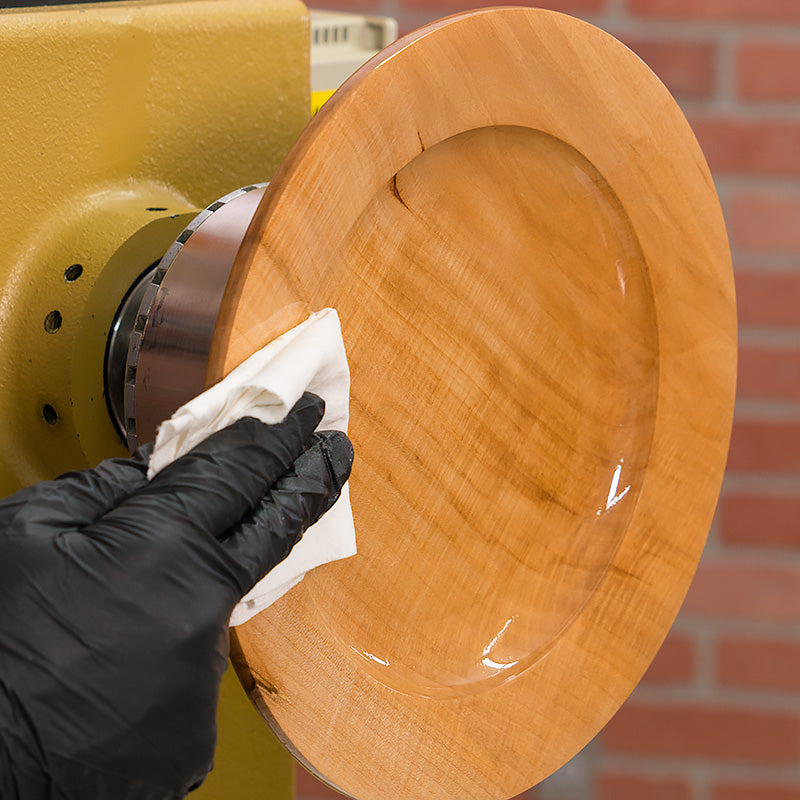
While the Deft is still wet, wipe the piece dry with a clean cotton cloth.
Step 4
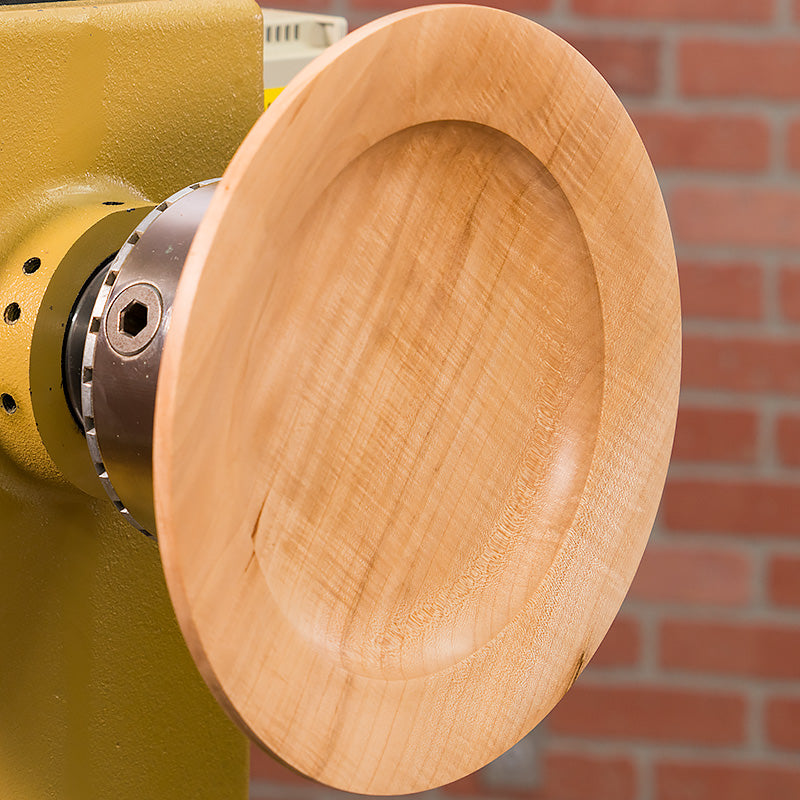
Set it aside to dry for an hour or so until dry to the touch. If time allows, go ahead and let it sit overnight. This allows the Deft to harden in the wood fiber to create a barrier that prevents the oil finish from penetrating the wood. This prevents the oil from causing the wood to darken and provides an excellent base for final finishing with oil.
Step 5
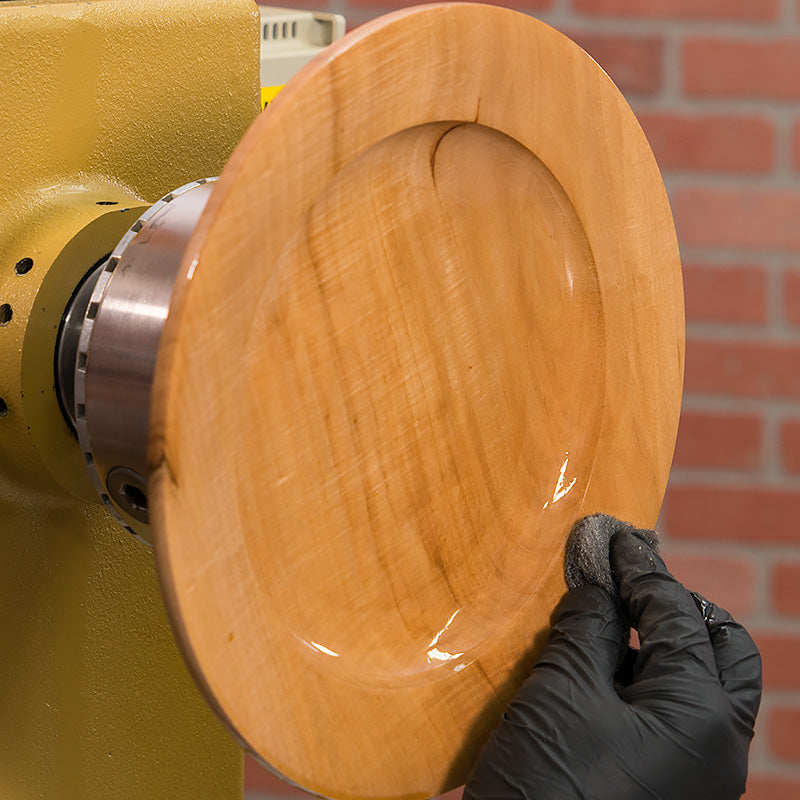
Using 0000 steel wool, apply Waterlox Oil or other polymerizing oil finish to the work piece then lightly wet sand at slow speed to remove any Deft left on the surface. If there are any “shiny spots”, be sure to wet sand until they are gone and the surface has a consistent appearance.
Step 6
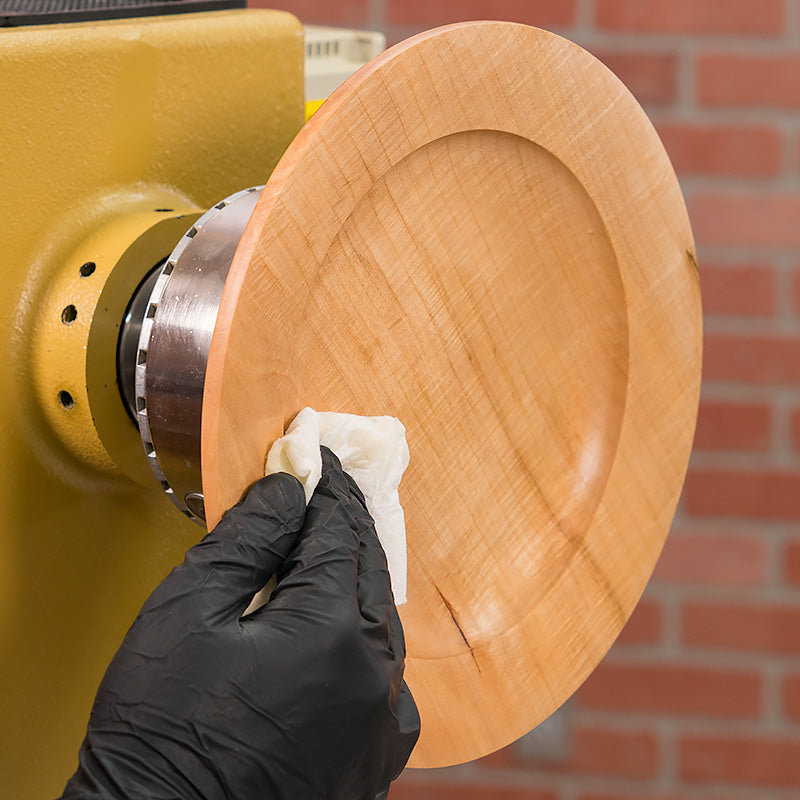
Buff the work piece with a dry, soft cloth and set aside for the oil to dry. Apply additional coats of oil allowing them dry between applications. You can apply the oil using steel wool if you want to lightly wet sand or simply apply the oil using a piece of paper towel.
Step 7
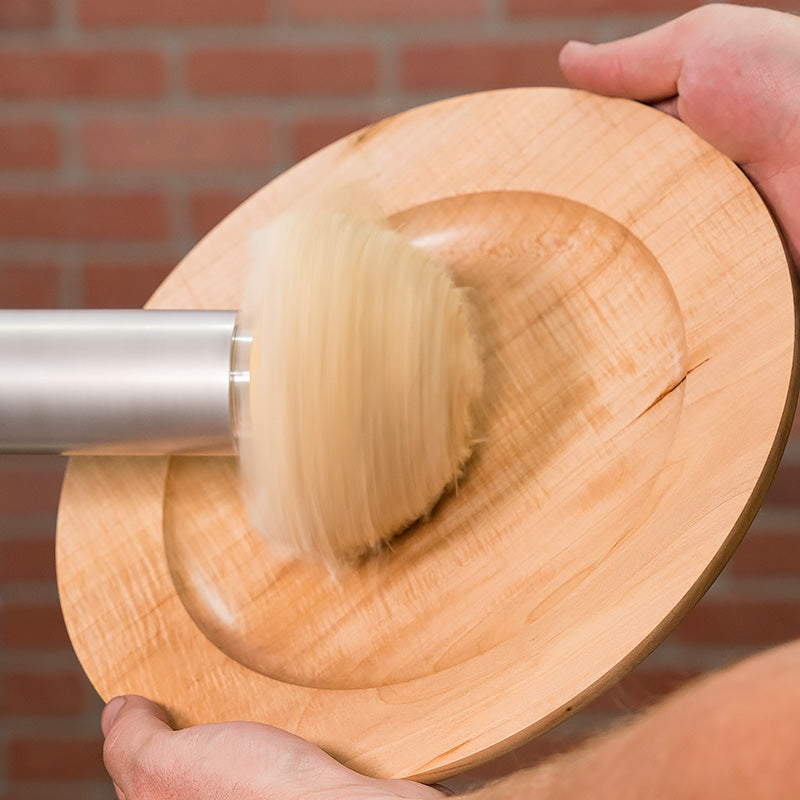
Final buffing can be done with the work piece on the lathe using a soft cotton cloth and wax or similar material. You can also free-hand buff a bowl using a spindle mounted bowl buff and polishing material such as a wax or fine abrasive.
Supplies Used:
- Deft Clear Wood Finish
- Lacquer Thinner
- Waterlox Original Sealer and Finish
- Finish Jar
- Mirlon Nonwoven Scuff Pads
- Liberon 0000 Steel Wool Pads
- Cotton Rags
- Nitrile Gloves
- Hold Fast Long Buffing Adapter
- Beall 3″ Bowl Buff
- Beall Buffing Compound
