


Turning a Pen with a Carbide Turning Tool
Pen turning is a craft that’s constantly evolving, and one of the most exciting recent developments is the rise of carbide turning tools. These innovative tools are changing the game for both beginners and experienced turners, offering a simpler and more affordable way to create beautiful pens. In this post, we’ll explore the advantages of carbide turning tools and walk you through the process of turning a pen using one, based on our latest video tutorial (see below!).
Why Choose Carbide Turning Tools?
Traditional pen turning tools require regular sharpening, a skill that takes time and practice to master. Carbide Turning Tools eliminate this hassle and additional expense. These tools utilize small, replaceable carbide cutters mounted to a tool shank. When a cutting edge dulls, simply rotate the insert to a fresh, sharp edge. This offers several key benefits:
-
No Sharpening Required: Say goodbye to grinding! Carbide cutters stay sharp longer and eliminate the need for specialized sharpening equipment.
-
Enhanced Control: The design of carbide turning tools makes them incredibly user-friendly, offering greater control and reducing the risk of catches.
- Smooth Finishes: Carbide cutters are known for their ability to produce smooth surfaces on a variety of materials.
Choosing the Right Tool
While several carbide insert cutter shapes exist, a 2” radius cutter is ideal for pen turning, especially for beginners. Its forgiving nature makes it the easiest to control and minimizes the chance of mistakes. In our video, we demonstrate turning an entire pen using only the Easy Pen Turner tool that has a 2” radius cutter.
Pen Turning Essentials
Beyond the carbide turning tool, you’ll need a few other supplies to get started:
-
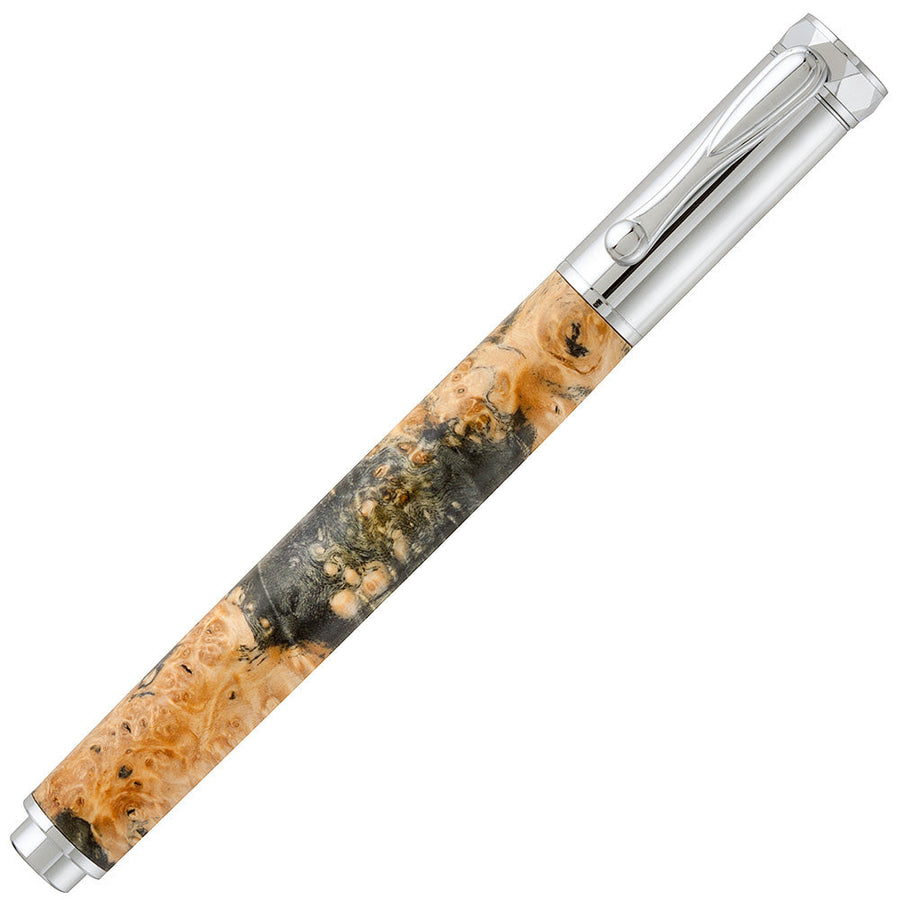
Pen Kit: Choose a kit that suits your style and skill level. We used the Roadster pen kit in our tutorial, known for its ease of turning and classic aesthetic.
-
Turning Blank: Select a blank made from a dense hardwood, stabilized wood, or acrylic. We opted for a Stabilized Boxelder Burl blank for its durability and unique character.
-
Bushings: These help you achieve the correct dimensions for your pen.
-
Drill Bit: Ensure you have the correct size for your pen kit (we used a 7mm bit).
-
Barrel Trimmer: This tool is essential for squaring the ends of the blanks after gluing in the tubes.
- Standard Turning Supplies: This includes items like glue (CA glue is recommended), sandpaper, and a finish.
The Pen Turning Process (Simplified)
-
Prepare the Blanks: Cut the blanks to the correct length, drill the center holes, and glue in the brass tubes. Our video provides detailed instructions on each of these steps.
-
Trim and Mount: Use a barrel trimmer to square the blank ends, then mount the blanks on your pen mandrel, taking care that bushings are in the correct placement.
-
Turning: With the lathe running at the appropriate speed (2,000 to 3,000 RPM), use the carbide insert tool to shape the pen blanks. Remember to keep the tool at center height and parallel to the ground.
-
Sanding: Progress through a series of grits to achieve a smooth, even surface. We recommend Abranet sanding screens for their effectiveness and longevity.
-
Finishing: Apply a durable finish to protect and enhance the wood. CA finishes are a popular and robust choice. See our blog post, Applying a CA Pen Finish, for a detailed tutorial.
- Assembly: Carefully press the pen components into the tubes using a pen press or a shop vise. Precision is key to avoid damaging the finish or the turning.
So, there you have it! The carbide turning tool opens up a whole new world of possibilities for pen turners. From eliminating the hassle and expense of sharpening to providing enhanced control and smooth finishes, these tools are a fantastic investment for any woodturner. Whether you’re just starting out or looking to streamline your process, give carbide woodturning tools a try and experience the difference for yourself.
Featured posts